Tuesday, January 1, 2013

Eowyn/Rohirrim dress update

Here's the first part of this journal : Eowyn/Rohirrim part one Sewed the sucker up and found that, after all that muslin fitting, it was too big.  I did have some problems caused by not having a marked point to match the front side panels to the modified center front panel so now I have a longer skirt in front and much more cleavage than I'd planned for.  Oh, well.... it was an interesting pattern alteration excercise. Lisa and I tried a FBA adjustment by using a larger size for the front and a smaller size for the back, according to measurements but I think that next time I'll have to incorporate a smaller size shoulder or do an actual FBA, something that I've never done successfully. ( I ended up taking the front panel off and moving it up 2 1/2 inches.  My chest has much more coverage and, due to the way I made the front panel, it is now short enough for dancing?,

I fitted it to myself using the "twisting every which way" in front of a mirror method. I needed to get this dress to a certain point before the holidays hit in full force, so I didn't get a "ladies room fitting" from Lisa. I do like the front panel I added and I like the sleeves, but next time I would not pair a stretchy fabric and a woven fabric. Additionally, the design on the woven fabric is painted on and kind of rubbery. It has an Icky feel to the hand.  Glad I'm not wearing it in real life.

Now I get to play with the yoke. I bought gold glitter and gold puff paint. I cut the yoke pieces out of the underskirt, sleeve lining fabric and cut an overlay out of green tulle.  I plan on painting the "embroidery" on the overlay, then sewing it to the collar.

Here is the finished dress! I like the fit and feel of it now, with the front panel raised, more modest coverage and taken in yet again.


Here's a shot of the puff paint "embroidery"


Now I'm working on a head dress/circlet and the belt


 I braided cheap Christmas wire in a herringbone, then glued on twisted silver wire and Swarovski crystals wit E-6000.  Hope it holds! Here it is modeled on the cheap costume wig I got on sale. All that is left is the belt!


Thursday, December 20, 2012

From the 1860s to the 1880s via Safety Pin

How can I possibly go to Lady Astor's Tea.  I haven't a thing to wear.  No, really.  I don't have an outfit from the 1880s and I really didn't want to attend in an 1860s (see this post for a view of the ballgown here: Lavender Ballgown at Dickens Fair) or 1840s dress, but I had an idea: What if I bustled my ballgown?  Would it work?

It did.  I started by shortening the front of the underskirt, then pulled the sides toward the back.  This created a little train!  Then I started pulling the overskirt up to the back, one section at a time.  An added bonus was that the flowers which are pinned at every tiered section became lined up across the back in a cute little floral display.


Here's a front view.  My dummy, Esmerelda, is currently adjusted to my uncorseted shape so you'll have to use your imagination for the bodice and apologies for the photo quality as these are excited phone pics sent to Lisa after I'd bustled it.

After viewing the pics, Lisa suggested adding a butt pillow (OK, it's a bustle pillow, really) but I stuffed mine more like a Renaissance bum roll as that would be the only thing holding the "bustle" up.  It worked.  Yay, Lisa!

The sleeves aren't period correct, but that can't be helped.  I realized, later, that I'll have to remove one side of the bustling to get into the dress.  I'm sure Lisa can help bustle the other side with me in the dress!


My first Bustle Pillow. Awww.

This just made me want to make a REAL 1880s dress with a bustle so big it will look as if a horse is under there with me!
The final results.....

Monday, December 10, 2012

Haradrim - Back with a new costume! - L


Robin talked me into going to a Lord of the Rings dance in costume.  I spent a lot of time looking at Elf dresses and Rohirrim dresses.  At pretty dresses on willowy girls.   I just couldn't do it.  I'm a bit more hobbit shaped, but I'm awful tall for a hobbit.

The one thing that DID appeal to me was being a bad guy again.  And female baddies don't exist in the films so I had a free hand to create something thematically similar without losing touch with my source material.

I decided to make a corset vest that looked like armor. The undervest would be attached but like it's separate.  Then I would have the bedraggled shirt and trousers with front and back skirting.


The brown leather on the vest is a faux distressed leather remnant.  The metallic designs are painted bits of maroon faux leather.  I used paper brads (scrapbooking materials) to look like rivets. Once I have this under control I'll be making shoulder and arm armor.  Maybe a stomacher...  And, of course, a turban and veil.  I have some fun plastic swords to use too.  I also get to distress the fabric.  Which I'm looking forward to.  Here are a couple of the pictures I used for inspiration.


Wednesday, November 7, 2012

UPDATED nearly final Dickens - piece by piece... L

 Here are some more pictures.  The bodice is closed with a zipper and the frogs are decoration.  I just don't trust them for the actual closure.  I'm probably going to add more trim.  I was going to add some of the same trim that's on the sleeves around the skirt.  I tried a variety of layouts, but never 'fell in love'.

I need this finished soon.  I am attending the Dicken's Faire in about 5 days and wanted something period accurate.  Not that a zipper is period accurate (neither is flashing one's chest).

I plan to post a picture of me, wearing this.  Assuming I remember to take a picture.


Last night I made sleeves.  I also decided to modify my skirt just a little.  I'll post a picture when I figure it out.

Robin points out that I am, yet again, being very understated.  Yeesh!  Clearly I just don't get it.  I'll just have to put it all together and see if I can pull out something nice.  Hopefully the skirt and bodice will compensate for the sleeves.  No WAY am I taking them apart to add stuff.  I'm also a little concerned about the plaid showing thru the lining.  But I don't think it will be that noticeable.  For the record, I think the bright royal blue is quite striking.

That's it for now.  Hope to cut the back of the bodice tonight, and maybe mess around with the skirt.

Here's a rough, pinned together skirt look.  Each fold-back is small and located at the bottom of the vertical skirt seams.  For perspective, they are about 8 - 9 inches tall.


Monday, November 5, 2012

Tail bodice complete - ready for the Bal des Vampires!

 I didn't get good pictures, but at least I got SOME pictures.  My daughter was working on her polonaise up until the last moment.  She didn't finish the trim around the neckline and had to guess where to place the decorative frogs on the front.  She plans to update it soon!  Also, she added cute trim to the skirt which you can't see in the picture.

I have my cloak thrown over my shoulder.

Wednesday, October 31, 2012

Quick Dickens - L

Wow.  So that title almost came out really wrong.  This year I wanted to wear something from the 1840's - 50's to the Dickens Faire.  IF I HAD TIME.  I finished my tail bodice and my cloak (pictures tomorrow!) and I'm mostly done helping my daughter with her polonaise and my son with his Halloween costume.  And then Hurricane Sandy hit the east coast and markets were closed for two days!  Work from home for me!  Making me one of the few that actually benefited from this disaster.


This is a very sketchy picture of my idea for the skirt.  The blue triangles are where the skirt panels fold back (reverse), showing something fluffy and white underneath.  The trim is not set in stone.  And the fabric is a blue, black and white check/plaid.


   Here's a sample of the main part of the skirt along with a piece of the piped reverse that I added at the seams.

I'll post more when I do more.

I'm not even sure I will actually have time to do this.


Thursday, October 25, 2012

Comments and Cloaks - L

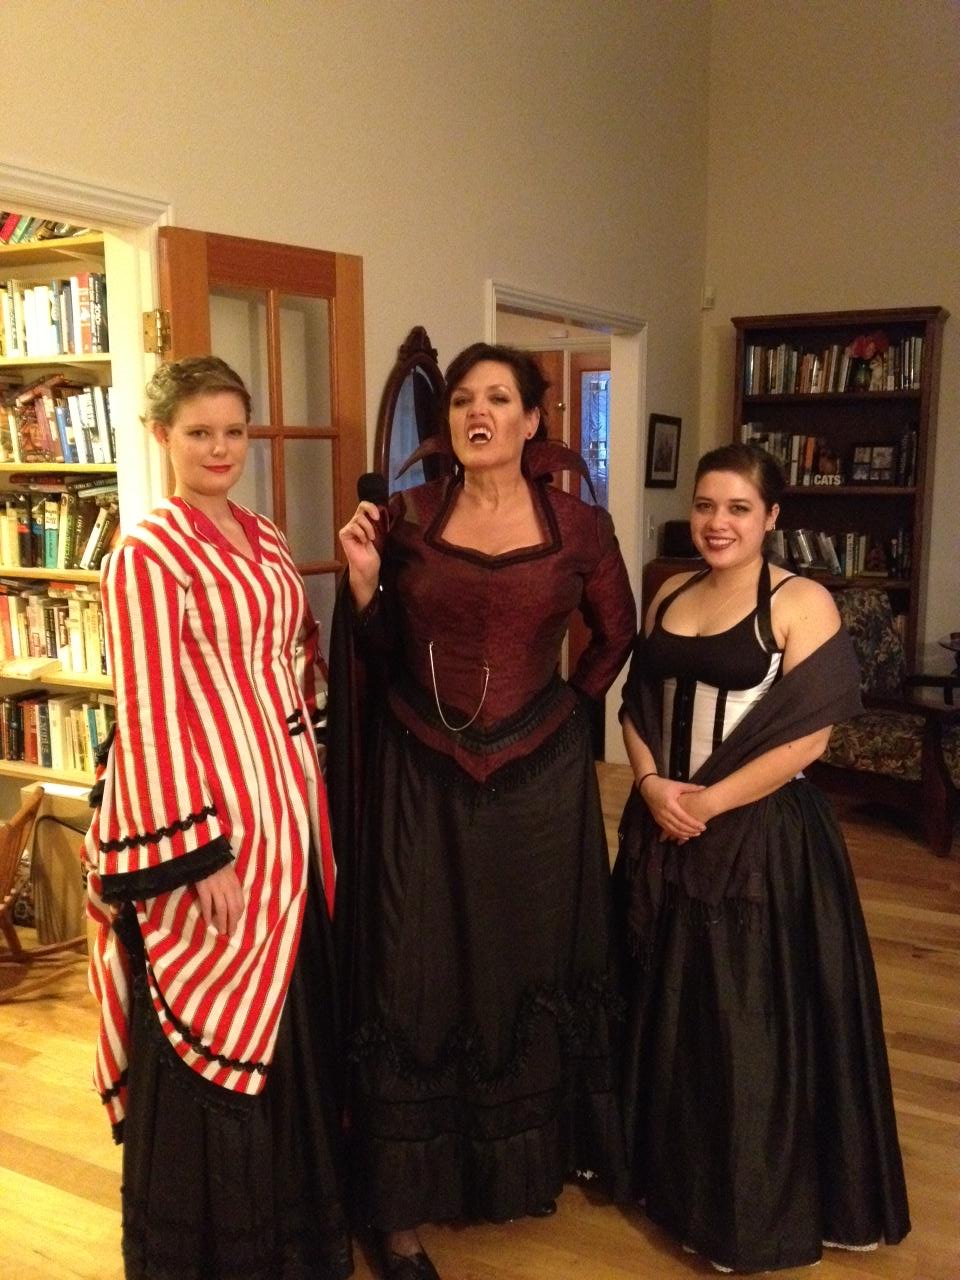
First off, APOLOGIES if you have commented and we never replied.  I really do check comments all the time.  Sometimes I see a comment that is a week or two old that wasn't 'there' yesterday!  It's difficult to decipher the mysteries of the interwebs.

I have finished my cloak/cape (what IS the difference?) except for the hem.  I'm purposely waiting in order to allow the bias regions to finishing drooping.  As always, I can't leave anything alone.  And Robin joined me in making this very easy pattern just a little more difficult.  As I mentioned (or not) before, I wanted pockets and a different hood.  Robin wanted a different collar.  Both of us wanted a removable hood.
And now I have pictures:

 In order to pull a ribbon thru the hood to allow me to pull it tight as I run thru a storm, on the moors, chased by unnamed evil, I needed a buttonhole on the inside of the hood (the lining layer).  I reinforced it with some VERY heavy weight cotton.

Next, I wanted some reinforcement thru the hood where I planned to run the ribbon.


Here is a picture of the twill tape I sewed into the hood.  The red circle is where I placed the buttonhole opening for the ribbon.
This shows you the rough shape of the new hood I drafted.
The curve at the bottom is where it attaches at the collar.  It really makes a nice drape around my face.  Also, it is big enough to hang well over my forehead.  Or I can fold it back in the front.

Apologies for the miscellaneous bits of black stuff that also clutters the picture.  It is all part of the band that I sewed around the neck.  The band has 5 buttonholes in it that correspond to buttons under the collar of the cape, meaning I can remove the hood entirely.

Here's the band.  It's bumpy and uneven looking, but one side is hidden where it attaches to the hood.  I brilliantly chose the bumpiest side to hide!


Once I sewed the hood to the band, all I had left to do was hand tack closed any spots that were too think to sew nicely.  All in all, much of the detail doesn't deserve close looks.  But black on black is very forgiving and I don't think anyone will notice.

I also took a quick picture of the body of the cloak and hood hanging up, to show my pocket.  Yeah, it doesn't really show so I added a bright circle.  I also used another favorite technique when I sewed down the collar.  I top stitched the under collar for extra strength but didn't want any contrasting thread to show on the lining.  I used black thread and a burgundy bobbin.  Worked like a charm.

This weekend I will add a hem, and it's done!  Back to sewing hooks and eyes on the tail bodice (yawn!)