Thursday, February 9, 2012

Catching up on Projects - L

The 1912 Project has consumed a huge amount of mental bandwidth, if only because of the outpouring of information in the FB group.  But I still have projects in some degree of 'made' that need tending.  Not to mention that I've taken on the 'Challenge Pattern' from 1912 Project.

First - clothes for a man.  I'm making a vest and frock coat.  The vest is nearly done.  Robin is going to do buttonholes for me and then I just need to add buttons and sew the lining shut.  And since the wearer is deathly allergic to cats, the cat is sitting on it.  I do love how it matches her eyes....
I'm also going to make a frock coat.  A black frock coat.  Sort of dreading it even though I'm using a different pattern than Robin (she felt hers was just too fussy).  I got the fabric and lining in the mail and they are HEAVY.  I may have got too heavy of lining.  Gonna have to think about this.
And, after resisting our silly costuming, he now wants a steampunk gun and holster.  When they fall, they fall hard!

I have also decided to try the 1912 Challenge pattern which is a slip.  It really appeals to me as a nightgown, although you'd have to be 10 kinds of crazy to pleat the flounce on a cotton nightgown.  I think I may pleat it for the project and set the pleats with vinegar but let them wash out over time.  The challenge of this pattern is all the lace insertion and pleating.  A separate challenge for me is sizing up the pattern from tiny 1912 to giant modern tall person who isn't skinny.  In addition, as soon as I looked at the pattern, it was clear that the flounce was not in the same proportion to the body of the slip as it was in the picture.  Aspirational marketing!  I really like the proportions so I'm going to change the pattern to reflect them.  I'm also getting wider insertion lace for the same reason. This is the first time I've actually printed out and put together an e-pattern.  I couldn't get all the marking to show up and I had to shrink it a bit but since I'm going to have to make changes anyway, I'm not concerned. I'm including a picture of the taped together pattern at the end of the post, even though the lines are faint and almost unreadable.  Tonight I will cut it apart and start fidgeting with measurements.  Anything to avoid starting the frock coat.

And here are examples on my insertion lace (2 1/4 inch) and eyelet lace (1
inch) for the neck


The shiny spot is light reflecting off tape

Monday, February 6, 2012

1912 Blouse for Dummies - VPLL 1912 Project

Our first pattern - Blouse EO191.  We made this to the pattern size since neither of us thought we would wear it as it wouldn't be flattering.  We made it up in white muslin, with the trim pieces in beige dotted cotton that we had laying about.  We wanted to make it fully lined and with most of the finishing (everything but back buttons).  We were not able to do any fittings during construction.  Apparently we are giants, and our smallest dress form was perfect except its neck which is HUGE.  The lack of arms was a problem too...
We are re-learning sewing after modest experience in our youth.  We opted to try to follow the instructions as written and write about how it worked for us.  Some of the instructions confused us, but we expected that.  Some of the choices we just didn't like and would do differently if we were making it for us.
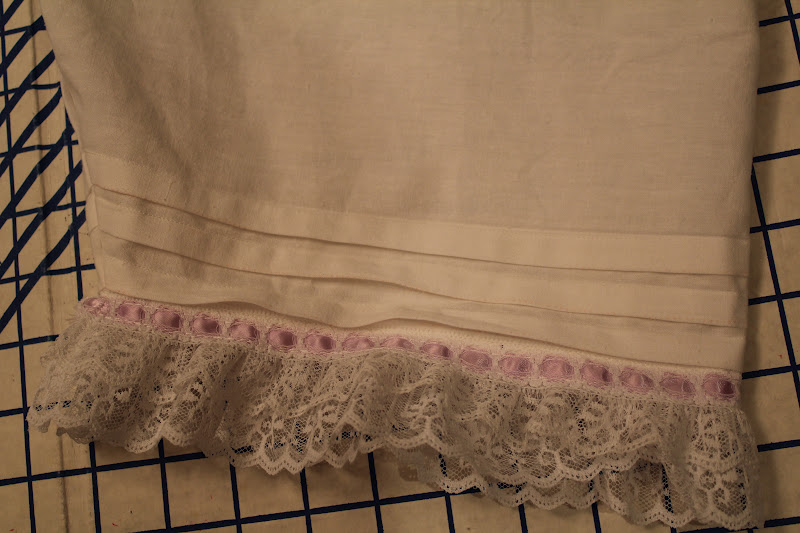
Trim
Sleeve trim - sewing the bottom of the trim to the sleeve with a small turned-under hem would not be our choice although it may be the easiest choice with the curved hem.  We thought self-facing would look a lot nicer.  There are no instructions for attaching the top of the trim piece so we top stitched it to the sleeve.  Depending on the fabric used, there are doubtless better ways to do that too.
Neck trim - We chose to double the fabric because our fabric was very thin.  We needed the extra body, especially with the beads.  It didn't meet in the back, even though we took slightly larger pleats in the front of both the blouse and the lining.  This may be because of placement.  We aren't really sure.  Others didn't seem to have this problem.  It didn't lay flat on the shoulders once we put it on the blouse.  The blouse itself lay smooth on the dress form and the lining matched well.  Again, it could be placement, and solved by moving the trim higher up the neck.  We couldn't test that due to the dress form limitations (linebacker neck) and my unwillingness to make my 10 year old son cross-dress for this project.   And then the binding, the binding that  kicked out butts.  This is very obvious at the point in the front.  It's not symmetrical top and bottom.  We know what we did wrong.  We chose not to fix it and call it an awesome learning experience.  Here it is without the blouse.


Sleeves
They seem to stand out from the body and cant forward.  We assume this is period styling.  They went in easily using the pattern markings, although we had no ease (even though the pattern suggested we would).  When we sewing in the lining, we sewed it right under the binding added at the shoulder.
Blouse body and lining

We re-folded the pleats out of personal preference.  We took about an inch of additional volume out of the top.  We sewed the binding strips to the shoulders before we we sewed the side seams which was easier but not nearly as tidy looking after we sewed the side seams.
The lining had us stumped at first.  We started by lining it up at the neck and it just didn't fit.  It was far too small.  We un-pinned it and started over at the arm scythe and everything matched right up.  Thing is, we ended up having to trim quite a bit of fabric from the lining at the neck opening which made it too big.  We added a couple of pleats on the inside and it looks nice.

Too Large

Too Small


From the inside

We didn't like the blouse bottom finish in the front.  We thought a narrow binding strip over the gathers would look a lot better.
Finally, we really liked the little basque in the back.  We thought it would look a bit silly, but really ended up liking it.

Not Surprising -
The drawing of the blouse is much longer and leaner than the actual garment.


This took us 7 hours from cutting to final press and pictures.
One adult beverage (each)
About a '4' on the profanity scale (primarily due to the $*#&$ binding).
We planned to finish this in a day but we were pleasantly surprised when we actually succeeded.


Victorian drawers and chemise - R


Today I want to make some Victorian "drawers" and a chemise to go with my Vic outfit from previous posts and I wanted to do it all in one day. That didn't quite work out.
I cut out the pantaloons (Laughing Moon Victorian Underwear patter) for the split crotch design, wondering how this would work in reality, using my measurements to decide on the pattern size.


I added 2 inches to the length.  Here are the bottom pleats sewn in. I found it strange that there was not more of a seam allowance/hem allowance allowed, only 1/4 inch. That doesn't leave much room for turning under twice.  Bear in mind that most underwear was french seamed and really finished well, no exposed edges, because they were brutally laundered.
I added a lace trim because they were still too short for me.

Here you can see the two pieces joined at the center front, overlapping.  The pattern said to overlap one inch but that did NOT give me the coverage I needed, so I increased it to a two inch overlap.

The waistband came with no provision for finishing the ends of the tubes.  My advice would be to make the waistband several sizes larger to accomodate an overlap in the back and to allow for turning under (twice) the ends of the waistband tube/casing.  These things barely made in below my knees (that's what happens when you try to measure yourself) and the crotch was too short.  I'm going to make up a new pair knowing what I know now.  Good thing these are made of cheap muslin!

I started the chemise and, irrationally, decided I had to have lace trim, so I dove into my stash that is destined for my Renaissance dress and 'stole' some lace.

I hand basted it in, then put the lining over it and sewed it down.  Unfortunately, I forgot to sew on the side with the hand basting showing through, which would have made an excellent guide. Instead, I ended up sewing it twice as some of the stitching didn't catch the lace.  Live and learn.
I like the trim. Being a novice, I've never actually sewn trim in.  I usually add it after the garment is sewn.


There is no way I can finish this thing all in one day!  I have to stop sewing and get on over to Lisa's house so she can help me dress for the Victorian Ball. Then, tomorrow, I'll already be at her house for our 1912 Project sew-a-thon.  To Be Continued!
The pattern calls for little tucks on the front and back chemise pieces.