Saturday, October 15, 2011

I actually finish some things! Yay! - R

 It took me all morning to rip out the sleeves and sew them back in.  i decided that I was NOT going to put pleats in the sleeves and just made the arm scythe bigger.  It worked. Huzzah!  Sleeves are eased, no pleats and the dang things are hanging the right way.

Then I decided that before starting to sew on Roger's vest (which I had cut out the night before), I would finish my stuff as much as possible.  I finished the waistbands on both the crinoline and the petticoat, sewed hooks and eyes on all of the and dressed Esmerelda (Oh, yes, the dummy has a name - Esmerelda).  Esmerelda lists a little from side to side.  I'll have to look into that, but now now. She's also a little taller than I am because I want to see the bottoms to the skirts to make sure nothing is hanging out.


And here is Esmerelda in all her glory.  All she needs is the front bodice closures, her "engageant" white undersleeves, and her bonnet and she is done enough to wear to the Dicken's Faire.  All the other trim will be done only if I have time.

Friday, October 14, 2011

Boil, Bubble, Toil and Trouble - A Night of Problems - R

I got all the tucks sewn on the skirt (they were just safety pinned before), got a frustrating waistband on and the hook and eye sewn and put the skirt on the dress dummy. I'm right between sizes on the available dress dummies (the ones I could actually afford), so I got the smaller one and plan to pad it if needed. I wanted to be able to use it for a corseted shape and the "normal" me and fiddled a bit with it. So far, so good but not perfect. Then I pinned the Pagoda Bodice on it.  After admiring my handiwork, I noticed she looked as if the top of her was....BACKWARDS!.  Yes, the sleeves are facing backwards.  Quelle horreur!  This will be the fourth time I re-do the sleeves.  Rats.You can't tell laying the bodice out flat, only when it is on the dummy, so it's a good thing I felt like playing with it. This outfit is not playing nice with me.

I started to lay out Roger's vest in the fashion fabric.  When I straighten the grain, I found the piece had been cut wonky and I lost a lot of useable material (3 inch wedges on either side, really???).  I gave up and will wait until tonight to try some different layouts, using a different material on the back and under the shawl collar, anything to get it so I can have enough material for the front of the vest. Such a bummer, because I bought extra material for shrinkage and in case this happened and I still might not have enough.  Thank you Joanne's cutting department! I think I hate my local store even more now.

On a more positive front, tonight I'm going to enlist Roger's help cutting the bones for the corset. I bought both flat and spiral boning and will need it cut and tipped, which is a two day process since you have to glue to tips on to make sure they don't come loose inside of the corset (crimping alone is not enough).  The poor corset is still slightly greenish in tine because I used Simple Green straight to get out the markings - you know, the ones that are supposed to just brush off???  Well, they didn't, so I Simple Greened them and now can't get some of the green out.  I may try Oxyclean, but I'll have to read the directions/cautions to make sure it doesn't eat silk. (Note: Oxyclean says NOT to use on silk)  Otherwise, I'll just have to live with a slightly greenish corset. Or maybe I'll turn the power washer on it??? Who knows what the solution will be?

So here's what's left to do: Change the sleeves, put on the front closures to the bodice, bone the corset, put bias tape on the top and bottom of the corset, dye the Petersham ribbon for the bonnet and sew it on, decorate the bonnet, sew Roger's entire outfit, make the ruched trim, put the ruched trim and ribbon on the skirt and bodice. I have one month. Hey, no problem.

Monday, October 10, 2011

Sewing Bee - 12 hours of fun

We spent 12 hours catching up on stuff that we needed to get done.  It was hard work fun.  Really!

 Lisa - All I really have left to do is to address the oddness of the closure at the top of the polonaise.  Partly because of my bust, and partly because I didn't follow the instruction and to do ALL the bust and waist correction from the darts,  I now have floppiness (see below). Robin did take a lot of pictures, including me goofing off while getting my 20 lbs plus of outfit on.    That is corset, two petticoats, skirt and polonaise.  On top of a tank and bra.

Nothing is all that heavy, but there's just so much of it.
And then some close ups of trim. Lisa did a fantastic job on this trim. I don't have the patience to pleat all that and I don't know how to crochet so that pretty much guarantees my trim will be different.

 
 And finally, some pictures of me fully dressed and mugging it up.  We spent some time adjusting the bustle tapes in the back and I still need to tack them down.  When I finish this hand sewing I will be done.  All that I have left to do is accessories (including hat decor), and I'm well down the road there too.


Keep reading after my pictures for Robin's pictures and all of the work she did on Saturday.  Check out the oddity at the top front...it just won't lay smooth.


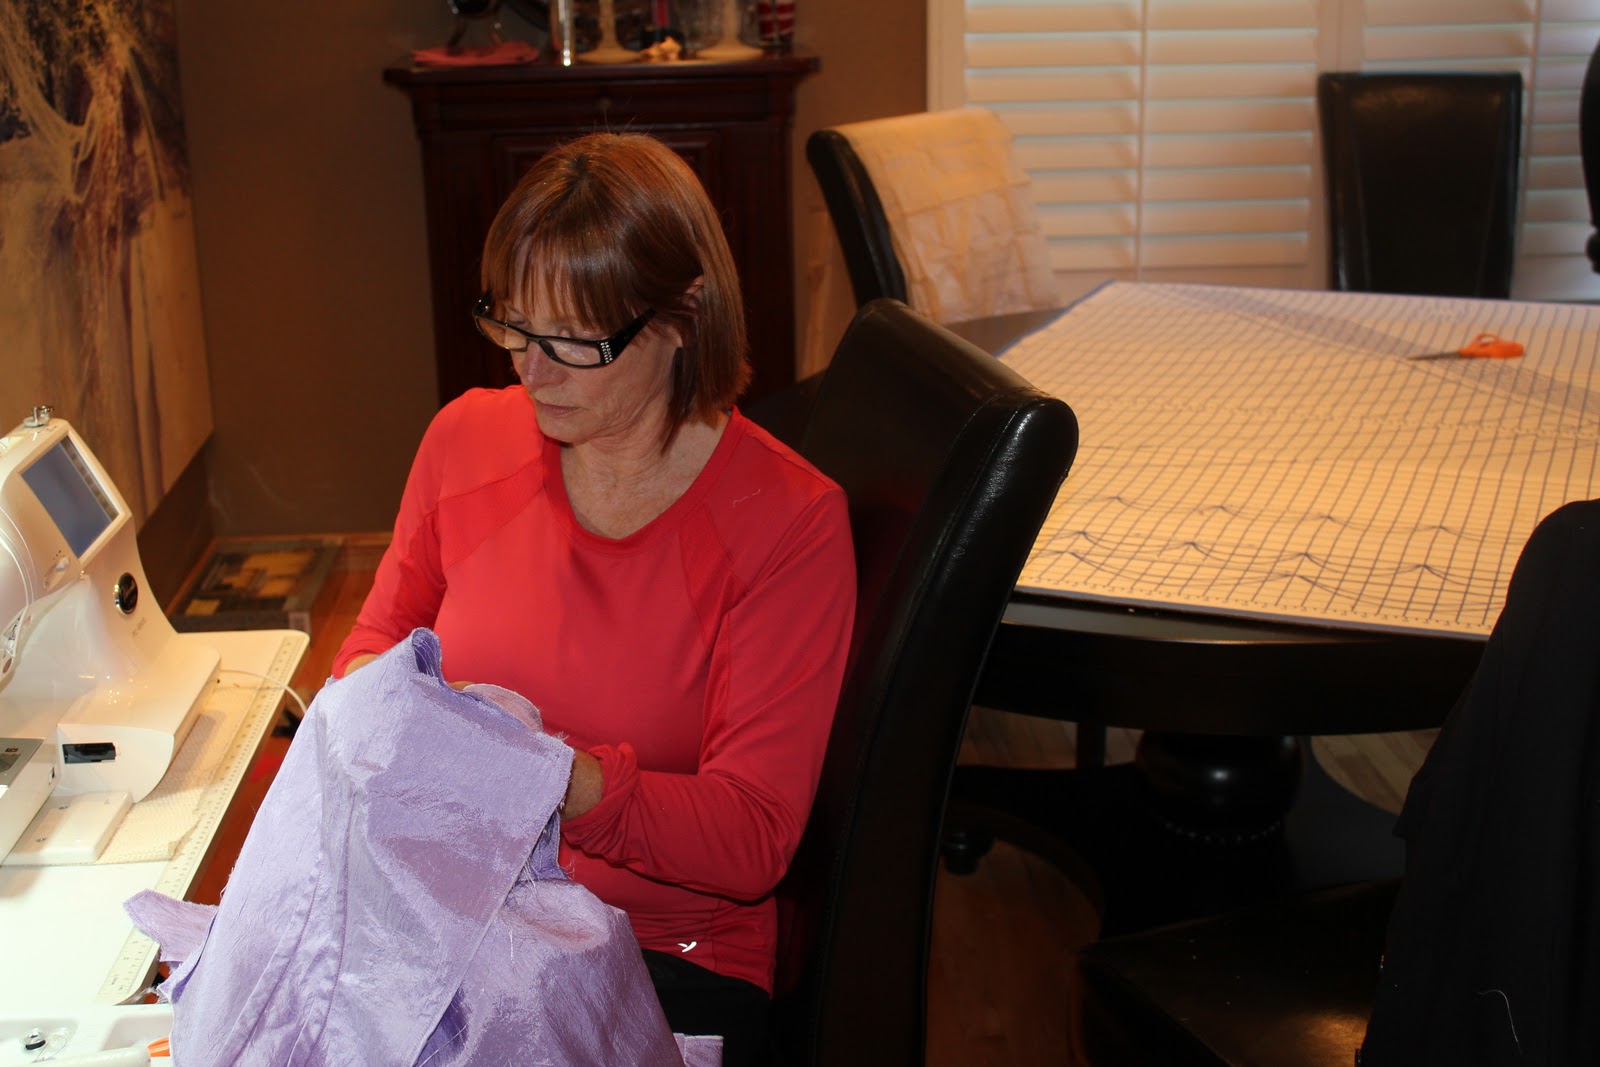
After we took these, I returned to street attire and helped Robin fit her bodice and started tracing renaissance underclothing patterns until the young-uns showed up with all of their stuff.


Robin - Here she is ripping out here sleeves the first time.  She had to re-sew them because we needed to refit the shoulders.  And we had to do it twice because she wasn't wearing the crinoline the first time.  She also created this beautiful corded piping for her bodice out of silk that matches the bottom tier of her skirt. 
She used a cool technique that makes the piping self-facing. 
 This is a couture technique I learned from Threads magazine but never had a place to try it. I love it!


When she on the crin, the fit of the shoulders changed again.  One thing of note...both of us had trouble fitting the shoulder area of the Truly Victorian patterns.  We both love the patterns, but are now aware this will be an issue for our bodies.  Her bodice still needs the hem at the bottom, and her corset needs stays.  This will resolve much of the crinkling in the lower back.  Her bodice really is like armor.  This from the woman who had to pin the shoulders and sleeves.  Re-sewing the shoulders and sleeves twice, along with sewing down the piping was hours and hours of work.  And while she was doing that....the girls showed up.


Valerie's dress is about half done.  The sleeves needed to be sewn in and the bodice needs to be trimmed.  She worked on that.  In addition, we're making a separate layer with a bustle and 'apron' in the front.  We got the bustle sewed to twill tape and draped the apron front.  Since she'll be playing flute in the dress, we are avoiding adding too much weight to the bodice along with the soon-to-be-hidden zipper and gussets in the armpits.  The bustle and apron are in the same fabric as the bodice, and the center front trim matches the skirt.  Then there is ruffled lace around the edges and down the front.

We were joined by another friend who wants to learn to sew.  She brought fun Halloween theme fabric to make pillowcases.  An excellent way to start learning to sew.  We sat around sewing, drinking tea, and teaching each other new and innovative curse word combos.  We made a horrific mess in Robin's house.  And we made some beautiful clothes....

OK, we worked on making beautiful clothes.  Nothing is done yet, except the pillowcases.


Sunday, October 9, 2011

Would you trust your corset to this man? - R

I'm running out of time and that means I need to ask for help, which I hate to do.  In order to work on making bias tape for the Pagoda Top, I had to ask my boyfriend to grommet the corset, thus imperiling all my work.. I explained what needed to be done, took a deep breath, and prayed. He did make a rookie mistake in his placement, measuring from the edge of the top and bottom grommets and measuring from the center for the rest. He was...upset. I explained that his job now was to match - exactly - the other side of the corset, then the grommet-ting will become a "design decision" instead of a "mistake". He actually did a beautiful job on the installation.  Unbeknownst to him, however, there will be a lot more grommet-ing in the future for the Renaissance outfits. We'll see how he does on the other side tonight, but with his help I cut and stitched together all the striped bias material.  Lisa was going blind sewing on individual hooks and eyes and texted that she needed some inspiration so I sent her this picture of me cutting out the bias strips, (used my rotary cutter for the first time and decided I'm going to have to invest in a much larger cutting pad for this thing to be useful) and Roger getting ready to hammer grommets on my granite kitchen counter (until I shooed him to the garage workbench where mallets and hammers may be wielded with impunity).
Using the rotary cutter, my strips came out better than I'd ever done them before, but being the perfectionist that I am, I still dismayed that they are not perfect.  There's another technique that Margo Anderson recommends in her Elizabethan pattern instructions that I'll try next time, but for now, this'll have to do.
Next up: Sew the bodice pieces together for the final fitting and start making strips of blackberry Silkessence for ruching/decoration.

The pictures helped.  I only have 4 mores eyes to sew, and I want to do a try-on before I sew them down.

Bonnet lining, flat lining, the work just keeps lining up - R


I'm figuring out this bonnet-thing as I go and am so surprised by how it's coming together. I ruched the lining, stretched it back out to fit and hand sewed the edge to the hat edge. Next I'll machine stitch it to the brim so the ruching will have a chance to stay in place.  After that, I'll hand stitch the the lavender brim top down.  I've already sewn the strap/ chin tie so that's ready to go.  The last step before decorating will be to dye and stitch down some sort of edge trim.  I thought I ordered some Petersham ribbon (looks like grosgrain, but can actually bend around curved edges better), but I can't find it! (Yes, my neatly organized fabric/notions storage room has gone to hell.) I can't wait to decorate the hat.  Victorians went overboard in their decorations.  When in doubt, add more stuff!  There is no such thing as excess decoration to a Victorian which is a radical departure from my normal style of dressing.   Sweetie!  You had me get you white Petersham ribbon.  It is in the bag I'm bringing on Saturday. Well, dang it, no WONDER I couldn't find it!!

Last night I cut out the pieces for the Pagoda Top.  I meant to interline it in canvas, but I grabbed the more expensive coutil by mistake and cut the whole thing out before realizing my mistake.  Oh, well.  It just means that my top will be built like a tank, lots of structure and "body". I'm flat lining the pieces together and will treat them as one piece for sewing, instead of the more modern technique of bag lining that we are used to.  For the edges I'm thinking of using the blackberry colored Silkessence to make piping.  That material is very thin, normally used for lining, so I'm not sure what I'll have to do to it to make it stand up to piping. 'Tis a puzzlement.

I ended up making self-facing piping in the silk that matches the underskirt of the ballgown.  Since it's cut on the bias, the stripes are bias and it looks really cool. You can see that on the post of the Sewing Bee.