
After spending an entire sewing session fitting our corset muslins, we cut them out and sewed them together. I finally received my flat steel boning and could check the channels and rough cut them. Lisa is using the same fabric, but plastic boning she got on sale. Here's my corset with a linen front and a coutil back with the bones rough cut and shaped on one end. I'll cut and shape about 6 more for the back, even though, until we have our fittings again this Sunday, I won't know how many I'll really need. I must dip the ends in paint to seal them. I hand filed the ends because the Dremmel was in the garage and the garage is not a friendly place to a person on crutches! Now my hands are sore.
 Come Sewing Sunday, both of us have our basic corset with boning in the front and sides. The PLAN is to baste on a lacing strip and do a final fitting. Except the lacing strip has gone missing again. So we make our own from some stray canvas and grommets. Then we fit, and fit and fit. ( It didn't help that we had slightly uneven grommet placements on our fitting lacing tape - R) The first picture of Rob's fitting was lost, but here is the second....and it is obvious that we don't have an even 2 to 4 inch gap down the center of the back. (the first go had the top two grommets meeting at the center). So Robin had to go in and make a curve out where her ribs are more robust than most! Guess that's what comes of going corset-less for most of your life! After that adjustment, we got it pretty darned correct. By the time we were finished fitting, our combined patience had worn thin and I actually yelled Lisa's pat phrase of "It's only UNDERWEAR!" - R
 And now it's time for grommets. I (Lisa) had never done this before so Robin made me do all my own marking and measuring. Also I got to do my own hole-spreading and hammering. And that sits well with my Viking heritage!
Here is my marked line with the grommets already in. I guess it's hard to see the marking for actual grommet placement. Sorry! And here I am, carefully creating holes with an awl (reduces broken threads in the fabric for a stronger garment) and hammering in my grommets. I'm always happy to hammer something! Look at her pretty grommets. Yeah, I make her do her own yet I'm the one who ends up putting one in backwards! Sheesh! - R


 We've already stitched up the bottom edge of our boning channels so the lower part of the corset is done except for binding. We still need to fiddle with the strap placement. It's just not right.
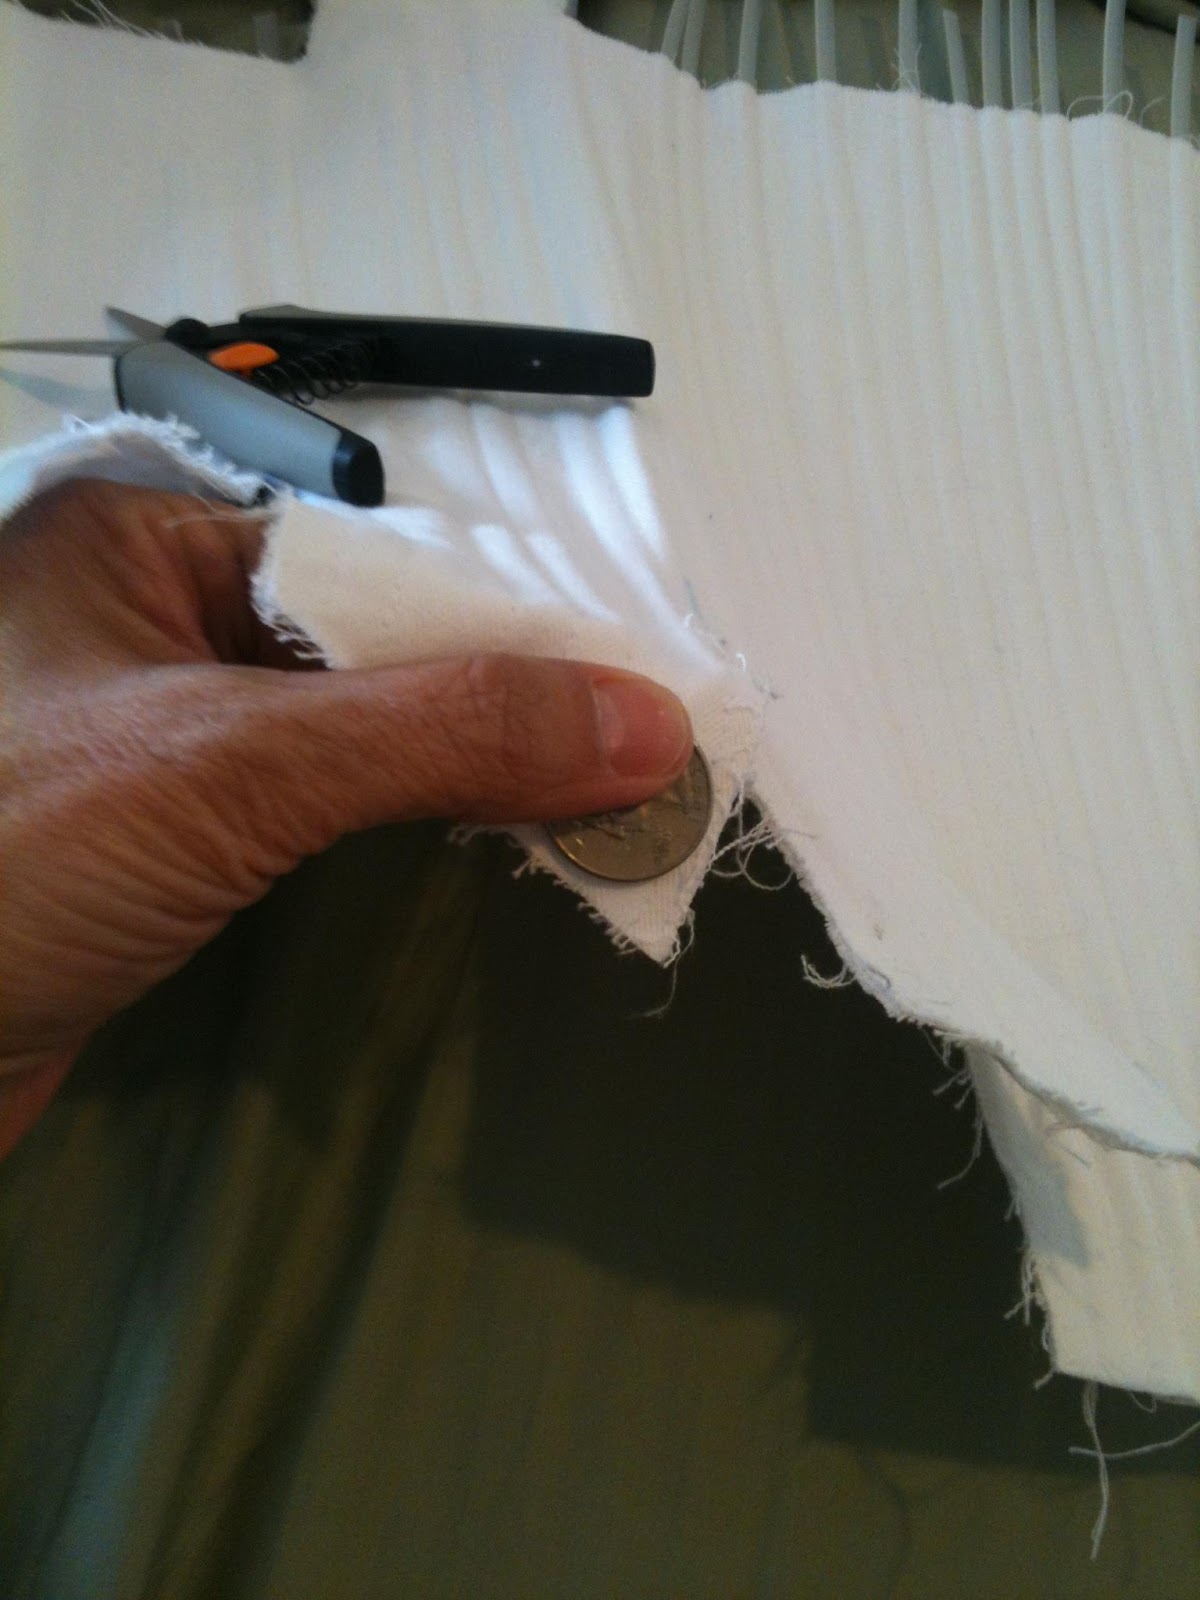
But, being impatient I have started binding the bottom edge. And the first step is to round the corners of the tabs. The instructions suggest using a quarter to mark the curve. Works perfect.
And then, simply sew on the binding. HA HA HA HA
There is very little simple about sewing on binding around curves. Here is an 'outside' curve where it is important to spread ease over the whole inside edge of the curve. Those bumps will go away with pressing (which I can't do because I got taco on my corset : O ) (And Rob just HAS to chime in with "WHY are you working in white with taco sauce anywhere near it????!!! But your stitching looks fab. To which I reply - it was dinner time! )


Here is a close up of the back, washed and ready for bones. In fact I've got the bones in, trimmed, filed and the top sewn shut. Ready for the final binding. I'm taking it on vacation with my for hand sewing. I like how it looks.
I don't plan to send updates from my secret Southern California vacation spot (he he). But ya never know.....
(OK, OK, I might be the chubby lady under the umbrella, by the pool, sewing)
I've joined the ranks of "those who get "stuff" on their projects. I KNOW how the blood got on the bias trim, but what IS that orange stuff that looks like Cheez-it orange? I have no idea. Really. I was going to wait for my strap fitting to finish the binding, but decided to bind as much of the corset top as I could, leaving room to position the straps. We'll be doing a strap fitting for me plus a measurement for the Ren bodice pattern. I had measured Lisa in her corset and chemise and she says that the measurements didn't really help her for the bodice, so she just cut a muslin with extra fitting room. Maybe I'll end up doing the same, but part of me feels that measurement must be good for SOMETHING, right?
Addendum: That wasn't blood on the corset. The culprit has been found out. It is residue from my lightly tinted lip balm going from pin-in-mouth to pin-in-corset, leaving a dot of pink at each pierce point. ARGGGGHHHH! Almost finished with the had stitching of the bias tape and sewing through coutil is a be-atch. Glad it will be over soon.


