
Liberte! I got 3rd Place in this VERY challenging single fabric costume competition.
 |
| Everyone wanted a headdress |
When I finished my last efforts, I decided to take a break. I needed to deal with my yard, and paint some walls in my house and do some more knitting, not to mention travel! After I last posted, Robin and I flew to Myanmar/Burma. It was an exciting photographic trip, with some challenging hikes on steep trails in the rain, some amazing people and traditions. We photographed the Kayan, Chin, Akhu and Enn tribes. If I was less lazy, I'd post some pictures. Also, though, I want to wait until I learn how to use Lightroom software for editing. Great expectations. I managed to make a stand for my headdress out of a styrofoam head, tissue paper and glue, a heavy dowel and a plumbing fixture.


I also did a little (and continue to do) work in the yard, painted one wall red, knit a scarf and knit about 5 feet of a 7 - 8 foot shawl (dubbed the mini-blanket). Pictures can't do it justice because it's black with silver sparkles. When I get enough light, it looks faded and covered in cat hair. OK, there IS some cat hair...
 |
| mini blanket with bonus cat hair |
 |
| scarf |
Pride and Prejudice and Zombies was exactly as much fun as you'd expect. Our costumes look great. To make it even better, at least 15 drag queens were there in full and beautiful Regency ball gowns. We reached out to the Greater Bay Area Costumers Guild and had a couple extra people show up.
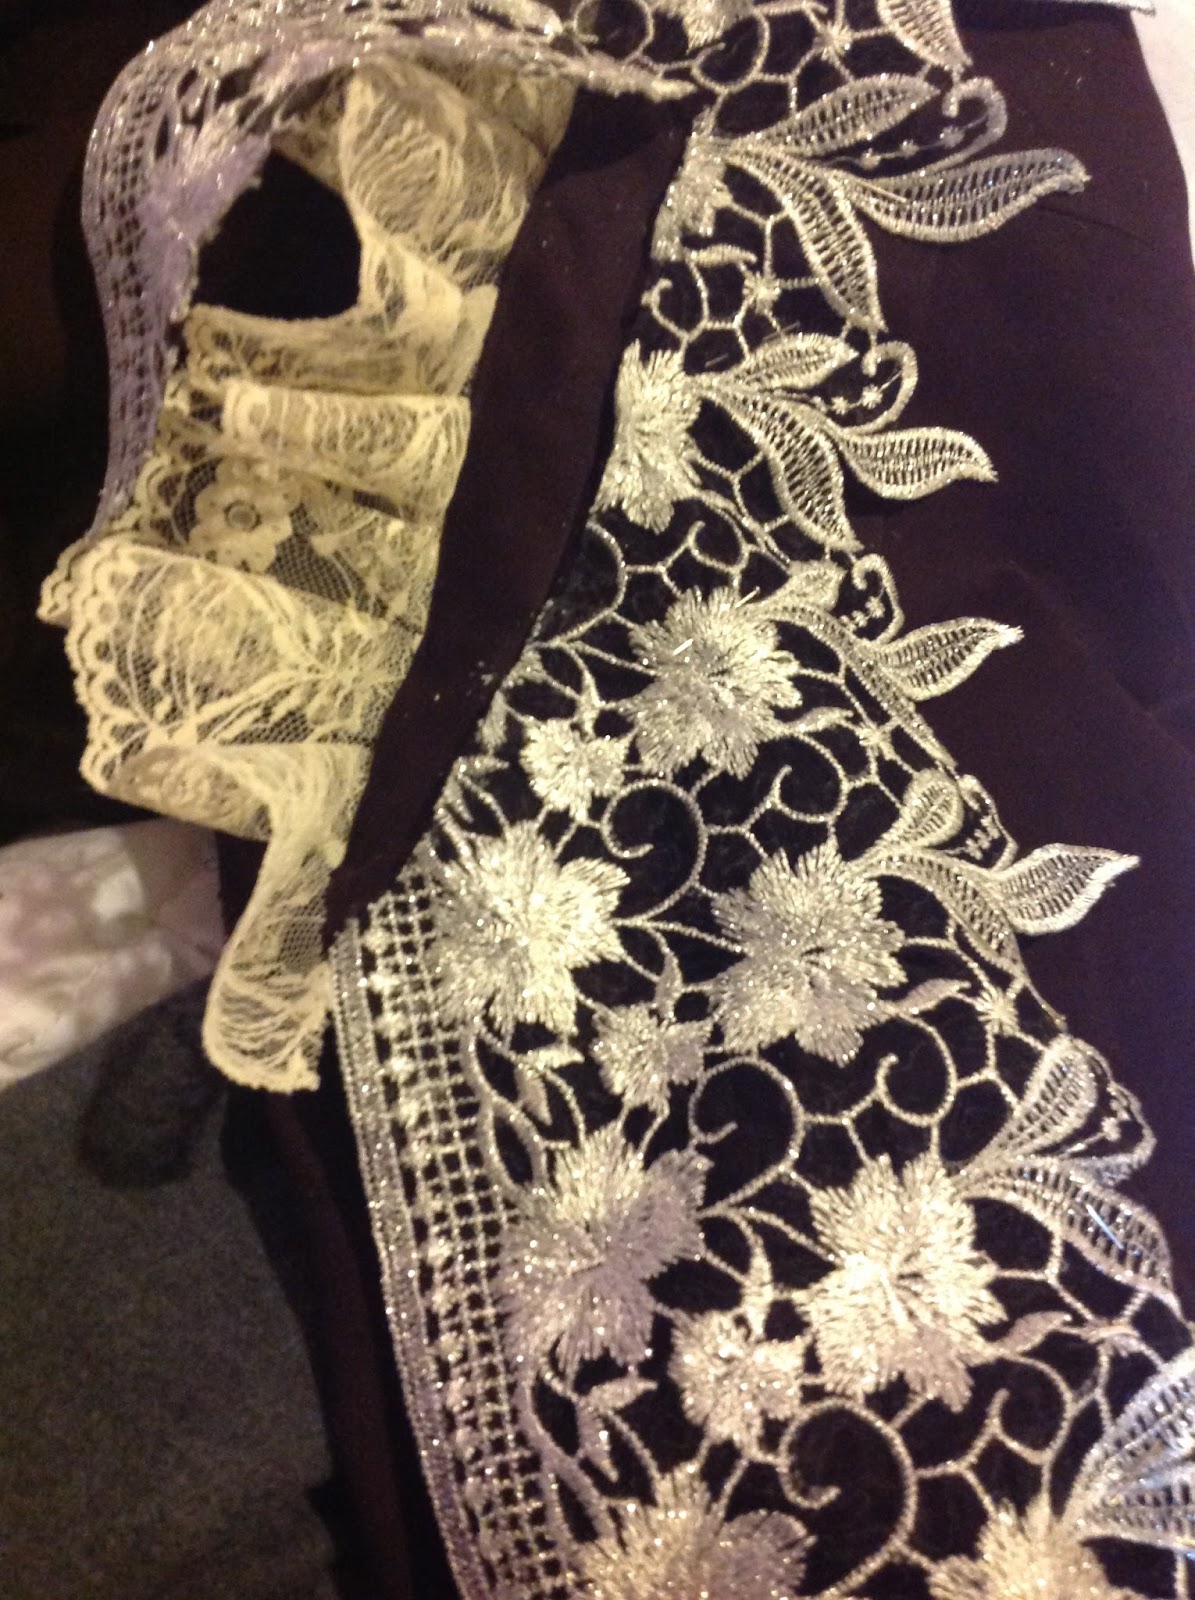
The black Regency dress is from the Simplicity Regency costume pattern. Cut a little extra full in the back, higher at the front neckline, and lower in the back. Someday I will trim it. The jacket body is from a McCalls blouse with a mandarin collar from a jacket and the long sleeves from the Regency pattern. Cheap lace scraps in the collar and $5 of fancy lace from eBay for the front. The front lace had to be coaxed and clipped into going around the bust, and hand tacked. Added eyepatch from the drugstore. The sword is $3 and painted (which has mostly flaked off) and the harness is made from belts left over from our Attack on Titan cosplay. I think I'm going to bring this to Costume College because it's super comfortable (no corset!) and fun.


 |
| Inspiration image |

Missy from Dr Who was a bit more work, but less than I planned. Hoo-raw! The costume changes every season, sometimes just a little so it was a challenge to decide where exactly to put the trim. The best part of cosplay is that mostly people don't notice as long as they recognize who you are. I used a pattern from the 1912 project for the skirt and added pleats where the trim should go in front. I didn't do the fancy period accurate closure. Just a zip in the back. The jacket is a frankenpattern mashup of these two patterns.
I used the long jacket pattern for the body and sleeves. I used the Vogue pattern laid on top of the jacket front to make the lapel, and the rest of the collar. Finally I curved the front of the jacket at the bottom and added pockets. Trim all over every edge. The trim is too narrow, and the color is wrong. And I love how it came out.
The blouse was hard. I used the Wearing History Smooth Sailing blouse for the body with sleeves from a different blouse pattern. I cut the center back very specially to get the point and cut the front yoke on the bias meaning I had to line it to hold it on grain sorry, no picture. I had to make cuffs from scratch and used a two part collar from the same blouse pattern as the sleeve. Then I trimmed the collar to get the shirt curved front. I bought the cameo from a cosplay friend.


Then there is the hat. It's another torn apart and re-molded sombrero. Spraypainted black. The flowers are leftover bits from other hats, the cherries are some Xmas decoration thing at JoAnns ($3) and the dead leaves are actual dead leaves from my yard. I opted out of all of the accessories. Sure it's cool to have them, but then you have to carry them around. I saved my pockets for my phone, ID, credit card and room key. Gallifrey was a blast, as always but may be my last for a while. It's turned into a busy time of year for my son. He had to do a video audition from our hotel room. I will wear this again at Fanime for the Dr Who meetup. Another costume that's incredibly comfortable.
 |
| Posing with a rather rude Dalek |
Speaking of Fanime, two of the offspring are cosplaying Booker and Elizabeth from Bioshock Infinite and my nephew and his girlfriend are learning to sew so they can be the red and white mages from Final Fantasy. I'm supervising, and stepping in to avert disaster as needed. We've modified as needed to make these costumes as easy as possible. The characters are pretty iconic so I'm hoping it works out well.

And finally, I helped out in the tiniest but with the High School musical, Cinderella.
Because four white mice just might become four white horses...


 Here is the pattern I'm using. After making a paper mock up, I thought it was a bit too small so I added an inch to the crown (I have a lot of hair) and an inch to the face framing part. That was a mistake because I failed to account for the flounces. Oh, well, I'll make it work.


 Here is a back shot of the wings. I had the most fun/annoying time making those suckers. I didn't want any sharp points to avoid poking other guests but I do have the habit of "Go Big or Go Home". You have to go through a door sideways while wearing these things. There are many fairy wing tutorials on the web. I used fabric, glue and wire. Oh, and glitter. Lots and lots of glitter.
 I've made this before in a print, and I love it. In addition to the shoulder dart and the under bust pleats, I added a side dart. And this time I made it in plain white muslin and did the color embroidery around the collar and sleeves. Or rather the 'not sleeves'. While the embroidery itself wasn't fast, the rest of it goes together quickly and it's very comfortable. Other mods - I used snaps at the side opening instead of a zipper and I added ties sewn into the outside front pleat. I can tie it in the back for a slimmer fit. Snaps at the side have a softer look than a zipper. I added a 3/4 inch placket on each side of the opening, then put a hook and thread loop at the center, and two snaps at either side. I added shoulder pads. The other 'slow' thing I chose to do was to add the bias tape to finish the neck by hand.


 Liberte! I got 3rd Place in this VERY challenging single fabric costume competition.


 Missy from Dr Who was a bit more work, but less than I planned. Hoo-raw! The costume changes every season, sometimes just a little so it was a challenge to decide where exactly to put the trim. The best part of cosplay is that mostly people don't notice as long as they recognize who you are. I used a pattern from the 1912 project for the skirt and added pleats where the trim should go in front. I didn't do the fancy period accurate closure. Just a zip in the back. The jacket is a frankenpattern mashup of these two patterns.


 In the midst of all the holiday fun with my family I did some avoidance knitting and started a couple of cosplays for 2016.


 On the sewing front, I'm working on two cosplays. I love Missy from Dr Who so that's been in planning for a little while. I plan to put a full construction post up when I get it done. So far I have the skirt and the blouse and the basic hat. I'm getting a cameo from a friend who makes them, and I'm thinking hard about how much more I will be doing. The umbrella/parasol is really calling to me.


