Hadn't sewed in ages when I suddenly got the urge. Sadly, the urge ran out before I finished. I did make 3 things, though and I've worn 'em all. I have a 30's blouse pattern from Wearing History that is all ready to modify. And I have some beautiful fabric to make it up. I've had the fabric for a few years and no longer remember why I bought it meaning it is fair game for the fabric stash burn-down.
The picture is rushed and not so great. I will SAY Im going to add a better one, but it's not that likely. Maybe I'll snap a picture at Costume College.
First - Decades of Style Girl Friday blouse
 I've made this before in a print, and I love it. In addition to the shoulder dart and the under bust pleats, I added a side dart. And this time I made it in plain white muslin and did the color embroidery around the collar and sleeves. Or rather the 'not sleeves'. While the embroidery itself wasn't fast, the rest of it goes together quickly and it's very comfortable. Other mods - I used snaps at the side opening instead of a zipper and I added ties sewn into the outside front pleat. I can tie it in the back for a slimmer fit. Snaps at the side have a softer look than a zipper. I added a 3/4 inch placket on each side of the opening, then put a hook and thread loop at the center, and two snaps at either side. I added shoulder pads. The other 'slow' thing I chose to do was to add the bias tape to finish the neck by hand.
For me, the embroidery is really hard. It's my kryptonite. I fret if it isn't perfect. Well, it isn't, but I love it anyway. I used charcoal grey and two shades of pink. I never wear pink BUT there is method in this madness.
 |
| collar is a pain, but looks pretty cool |
 |
| hand tacking bias binding |

Border print skirt - I got this big, like 4 yards, length of fabric in Morocco. It's meant to wrap around the body and over the head. I paid $8 for it. It has a few stains and is worn in a couple places. It's also very thin and sheer. But it's this great turquoise with pink and orange and a black border.
I backed it with white cotton lawn which was hellish since both fabrics were so wiggly and the cats decided to romp over it while I was working. Cut off the border on one side, pleated it into a waistband and done! Border print skirt with complimenting blouse! I came out a little longer than I expected so I may replace the waistband and take some off the top. I don't normally wear bright colors and worry that I look like a clown. But I wore it anyway.
Grey 40's wide leg trousers - Smooth Sailing from Wearing history
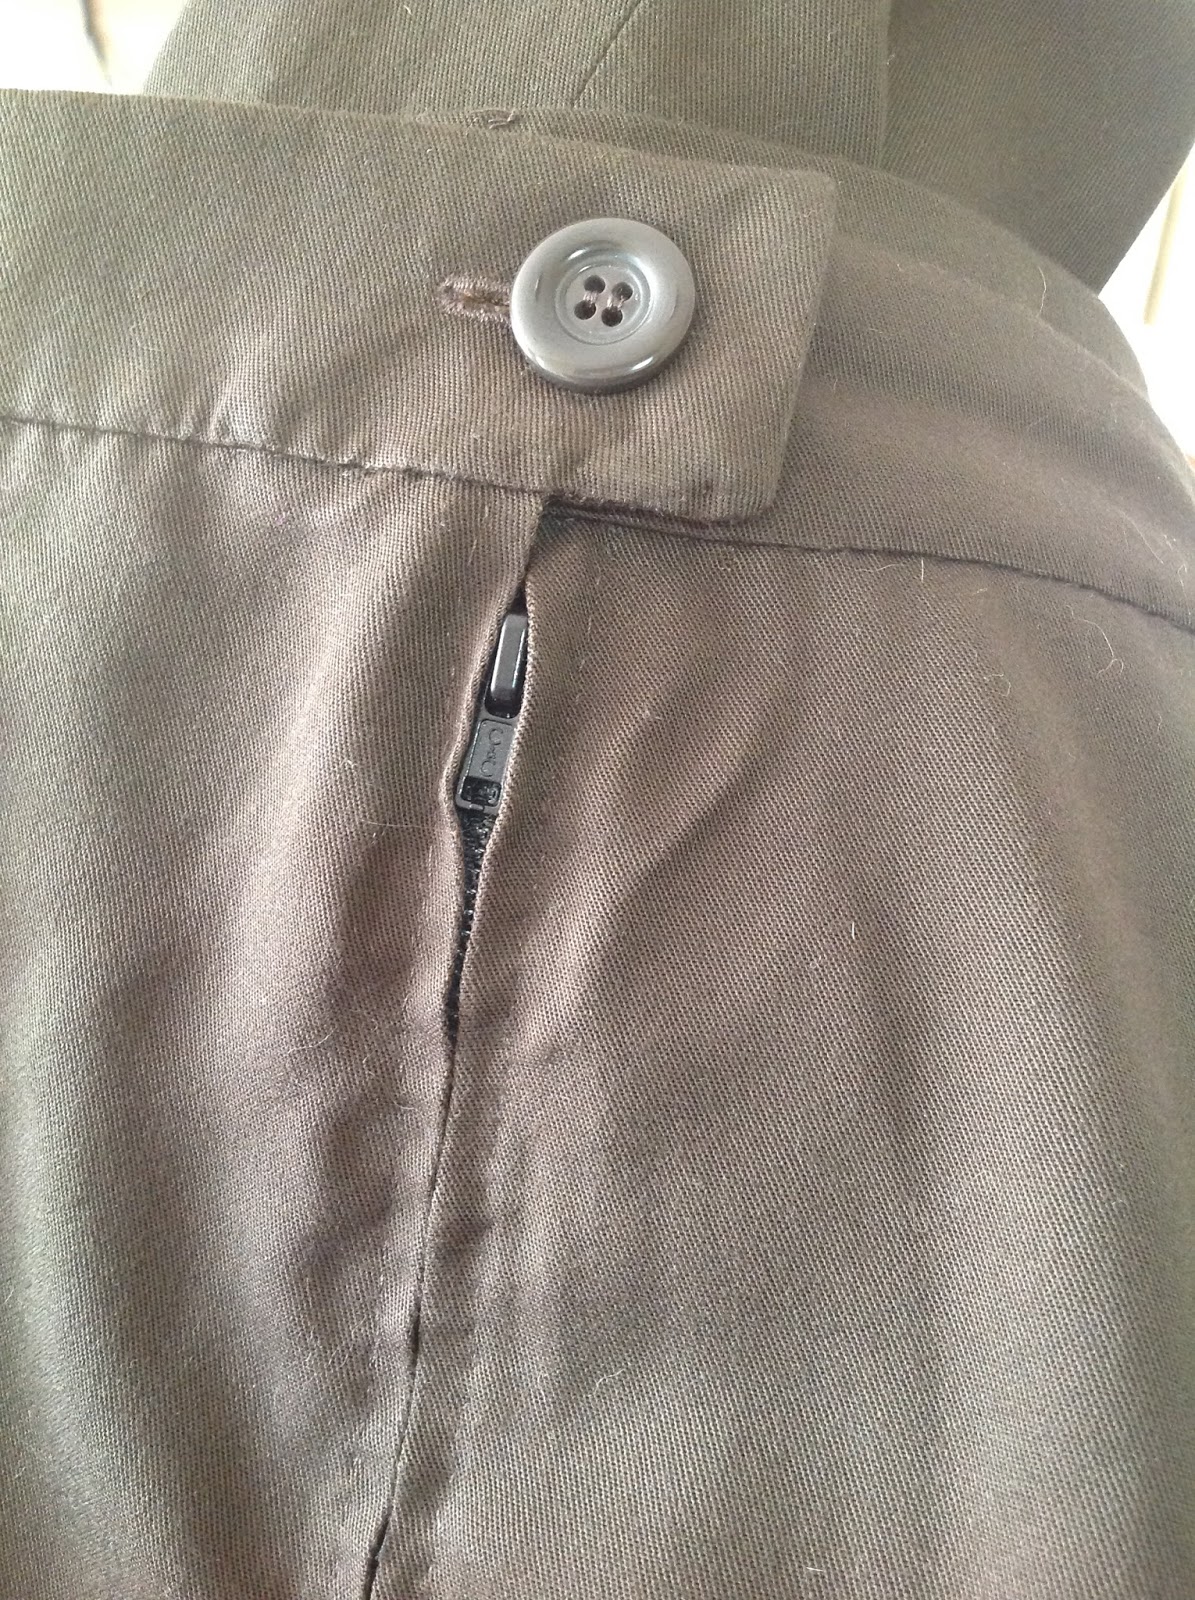
I made up this pattern again, this time with front pockets and a fly front zipper. I had 3 yards of the smooth grey wool that I used for my anteater dress. I kept meaning to make a skirt until I realized that I don't actual WANT another skirt. I get much more use from vintage trousers. I had already altered this pattern for fit so it was pretty quick. Except I really wanted a fly front and pockets.
 |
| fly front without backing flap |
 |
| backing flap is SO much better |
Fly front isn't so hard, but like a welt pocket it doesn't make a lot of sense until you've don't it. I followed the tutorial on the Threads website. It works beautifully except for one thing. In a real fly front there is a flap under the edge of the zipper. So you don't catch your belly in it while zipping. That is not included in the Threads tutorial. I added it by sewing a folded and interfaced piece of fabric to the flap that the zipper attaches to (seam is hidden under the zipper).
 |
| tiny, baby kitten is now huge and loves rolling on fabric |
 |
| The pattern pieces and template to add pockets |
The front pockets are done exactly per the Anerican Duchess tutorial. I cut paper pattern pieces so I can duplicate them every time I make the pattern. The only thing I added was bias tape along the curve of the pocket so it holds its shape better. The pants cam out a little to broad across the beam. I may take them in, but not now. Now I'm just going to enjoy them.
 |
| Added some bias tape to the pocket edge |
 |
| Pockets and fly front zipper |