Let's face it, who hasn't watched Outlander and wanted to make a costume? It's winter, it's raining, and plaid! With knitted stuff! I've seen posts about Outlander costumes all over the place, and I want one too. And yet, it's another 'Lord of the Rings' moment for me. So many Claire costumes, and all done by lovely girls. Fragile and delicate in their yards of plaid skirts. If I looked like that, I would be wearing it. Right now. Being me, though, I had two problems: I would look like fairly-tale giant in those dresses, AND I sorta like the guys clothes better. In a fit of early morning inspiration (or a profound lack of coffee) I decided that I wanted to make something inspired by the guys, and that their clothes reminded me of mid-teens ladies wear. I have a whole Pinterest board of images but here are my favorite inspiration pictures.
 |
| This blouse, in white (and not shiny) |
 |
| Girl in the Plaid Skirt. |
I have been informed, by more than one person, that this will be the most obscure costume EVER. No one will get it. La la la la....not listening. This is one of those costumes I'm making because I just really want to make it.
I started with the knitting. Gave me time to think about the other stuff. These are from free patterns on Ravelry and very easy. Mitts and a beret. Because it ain't an Outlander costume without knitted stuff.
I burned some stash yarn I had laying around. I buy yarn because I like it and it's on sale and never have plans to make anything with it. This is a much lighter weight yarn than the patterns called for but the result is soft and not warm. Which is really good because here on the California coast I rarely get cold.

The Skirt
Initially I wanted to make a hobble skirt, but they were long out of fashion during the beginning of WW1. And hobble skirts and pleats sounds pretty nightmarish. From 1915 to 1918 skirts tended to be mid calf and full near the hem. I spent hours looking at plaid fabrics online. There were lovely wools that would break the bank (or at least destroy my travel budget). There were decent medium weight cotton options but I didn't like the colors. And there there was heavy cotton flannel. Possibly the worst fabric choice I could make, but exactly the plaid I wanted. So I picked the wrong fabric!
Because of the thickness, I had to forego a hem in order to get the pleating right. Luckily the fabric is heavy and the selvedge wasn't weird. Then I spent hours and two boxes of pins pleating it. I left a smooth panel in front and a smaller smooth panel in back. All the pleats fold toward the back. I used my widest hip measurement while sitting for the skirt width. And then I vinegar pressed the pleats.

I'm sure no one is surprised that even vinegar pressing will not hold a pleat in cotton flannel. At this point I wrapped this big, pin covered piece of fabric around me and determined where I wanted the hem and where I wanted the pleats to start being stitched down. Then I sewed a tiny seam along all the folds to hold them in place. From the hip to the waist, I wanted the pleats stitched down. But first I needed to cheat them in to match my hip curve and end up matching my waist measurement. That required patience and math. Then it was just a waistband, hook closure, working buttons on the left and decorative buttons on the right. I made two sets of buttons (top and bottom) to channel the mid-teens look.
Blouse

Most every blouse I looked at for this period has a sort of sailor collar. But I don't want a sailor collar. I also don't want a high closed collar because they are kind of claustrophobic. I decided on a high, two piece collar and I would add a button in jabot. I use this Kwik Sew pattern a lot. It lies. It is not quick. Two part collar, yoke, and lots of topstitching. I use it for it's parts because then I don't have to draft them. This time, I added bust fullness at the shoulder and made pleats which requires more math than it seems like it should. I also added about half an inch to the collar stand and the collar. I made the sleeves longer and fuller and made up a cuff. To control the fulness at the waist, I made top-stitched inverted box pleats in the front and back. This means my shirt won't have ugly bunching and re-arranging while I'm wearing it.
 |
| front waist box pleats |
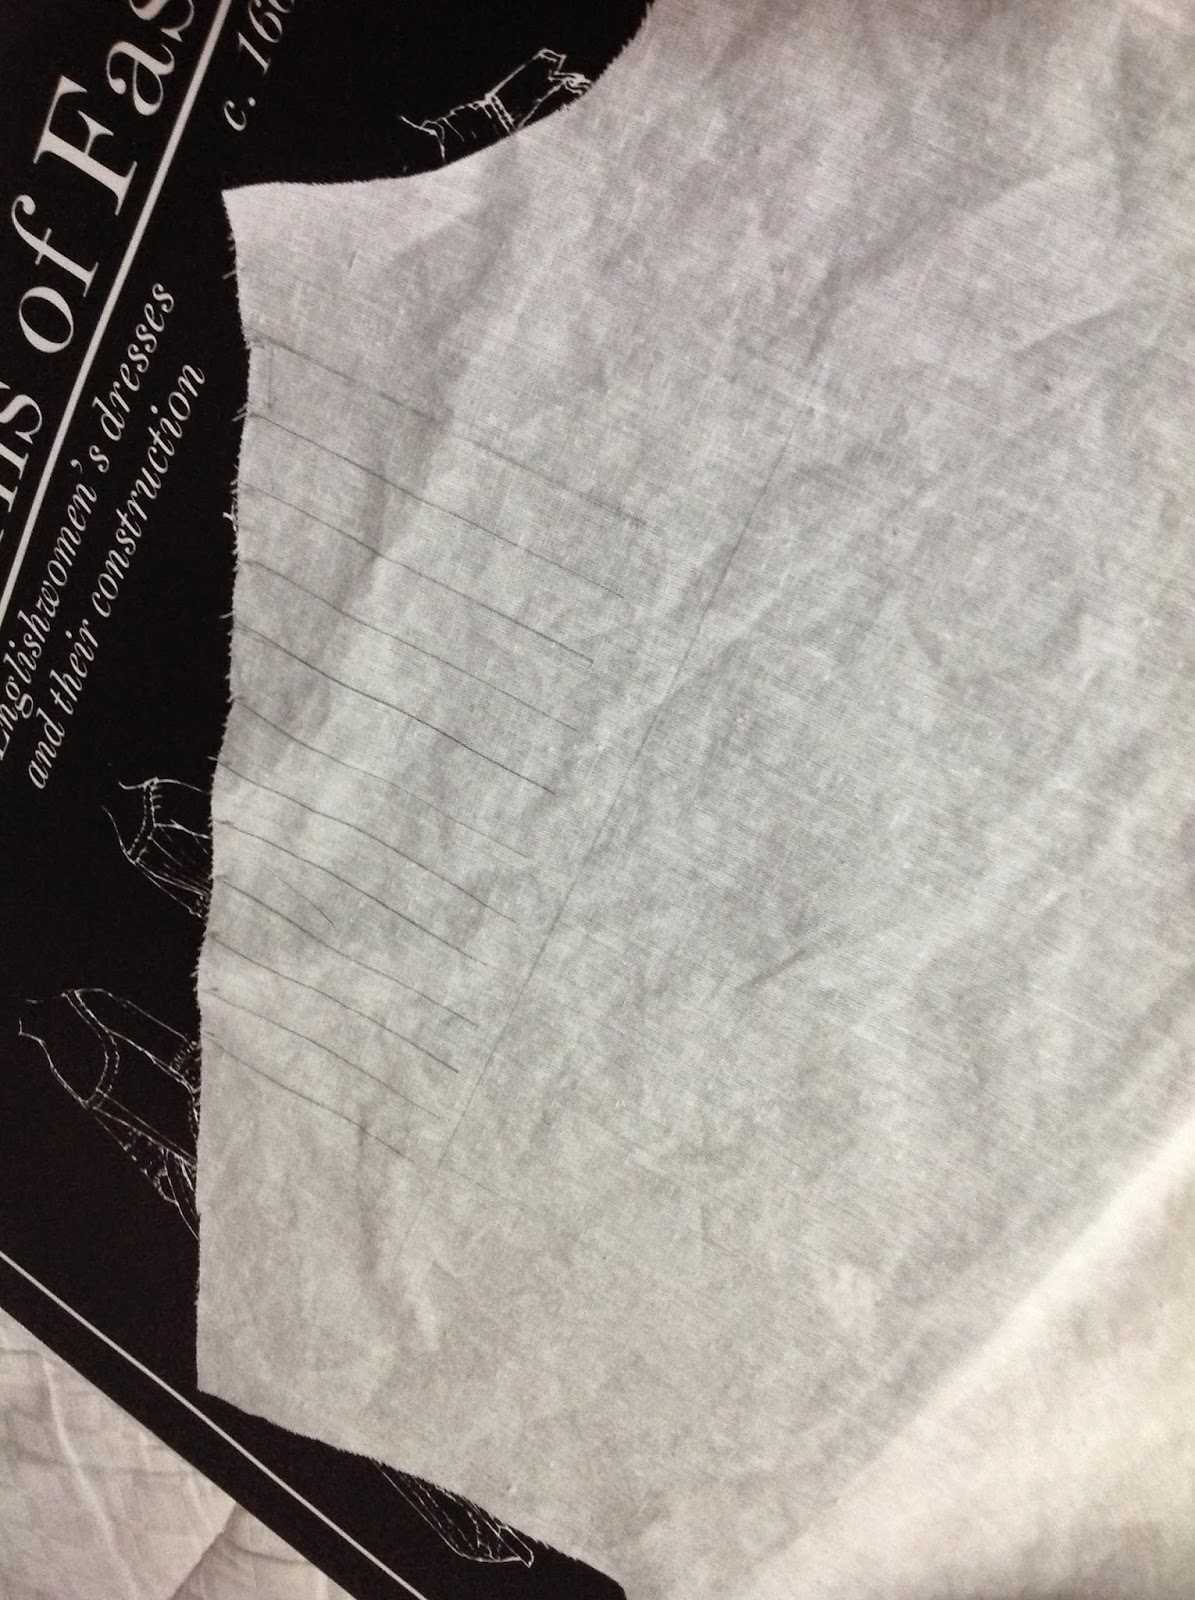 |
| pleating lines |
 |
| top of nearly finished blouse |
Next up was a jabot. It seemed like a good compromise between the wrapped cravats from Outlander and lacy Edwardian neck decorations. I looked at jabot patterns online and drew a picture of my estimate in 'real' size. It took a few tries to get it right (using scrap paper for the test). It's a simple Fibonacci curve that I tried to draw free hand. Picture proof that my drawing skills are wretched. I just kept trimming at the paper until I got it looking the way I wanted. Then I cut fabric and hand hemmed it so the curves would lie nicely.
Made a little rectangle collar piece and added buttonholes at the ends (not shown).

I added buttons to match on the collar stand so I could button it in, or use the jabot on other blouses in the future. The rest of this blouse was buttonholes and buttons. Interminable. But also pretty much exactly what I wanted.
 |
| Selvedge fringe |

Jacket - I used a modern jacket pattern as a base. It's 2 or 3 sizes too small for me except for the back shoulders so it was
interesting. I had to make it longer, fuller, add big cuffs, and add actual pockets rather than decorative flaps. I used the fabric selvedge around the pocket and cuff edges for texture. I didn't take a lot of pictures during construction because anything that could be a problem WAS a problem. Nothing big, but everything was a fussy, time sucking annoyance. The worst part was the decorative waistband that just didn't want to lay down and play nice. In retrospect, I should not have laid the waistband over the gathered front. I should have made the front into two pieces. Now that it's done, I still don't really love it. If I have time, I plan to do the waistband one more time. And finally get it right.


Purse/Sporran - My final accessory! I made a purse with a chain handle OR the handle can live inside and there are belt loops on the back. I can hang it from a belt like a sporran. I used very cheap fun fur that I had left over from a kid's costume. I ran uneven gathering up the back of the fabric to mimic sewn pelts. On close examination it looks like cheap fun fur. From a distance it's not
that bad. Really.
You may be asking 'but where's the vest?' because the Outlander guys wear a lot of waistcoats. I made one. I didn't like it at all. It didn't seems to fit with the WW1 look of the outfit and it didn't resonate with the look of the guys in the TV show. The vest is on an extended time out.
 |
| All 19-teens, out for a walk |
Results - I had to do the photos myself with a tripod and a timer which was a bit of a struggle. All the blouse detail got blown out in the exposure. I've added a couple pictures of the blouse that highlight the pleating and cuffs and jabot.
 |
| Golf balls 'cause Scotland! |
 |
| I will kill at tennis |
The pose in these blouse pictures is deviously designed to hide the fact that I'd just rolled outta bed, slapped on some eye make-up and was trying to hide a hangover. I really can't drink. Be kind.

 |
| remember...these guys |


