Showing posts with label Polonaise. Show all posts

Wednesday, October 5, 2011

The Polonaise is closing - L

Last night I review my options for closing the front of the polonaise:

Skirt hooks - robust, yet truly ugly
Hook tape - big flap, wouldn't stay closed
Snap tape - pulled and, well, risky
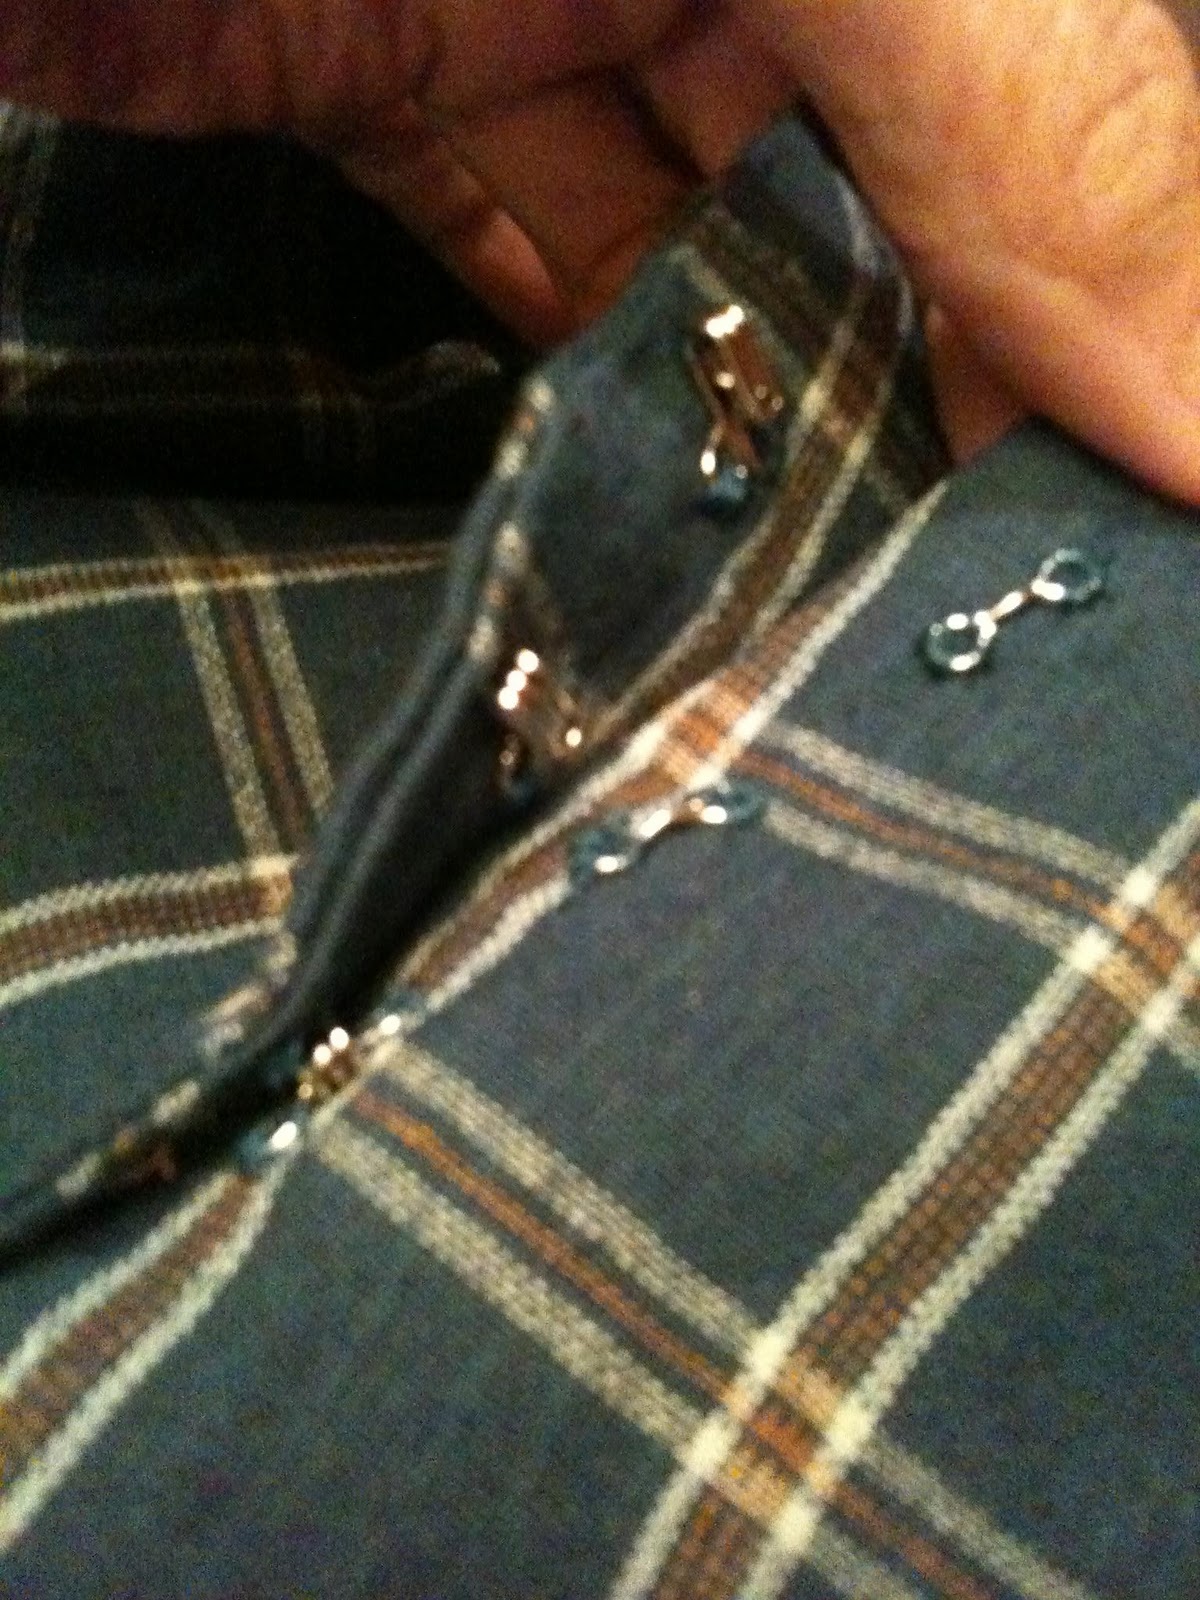
Small hooks - we have a winner!

They look good (don't show), lay flat, stay hooked.  The biggest downside is that they will take a bit of time to sew.  In order for this solution to work, I have to sew a lot of them.  On a positive note, I don't have to wait for Saturday to decide.  Now I can use the group sew to get help on more challenging issues.  Like how to turn a woman's long blazer into a man's frock coat and include about 3 more inches of shoulder space.  And how to add 6 inches in the sleeve.  I have a diabolical plan!

Tuesday, September 27, 2011

Front Closure Dilemna - L

I came home from a very fun weekend in Portland Oregon ready to sew on my hook and eye tape which would finish the polonaise except for adjusting the bustle tapes.  But oh, no.... 
I was expecting to be busy with work related stuff all day Monday until I caught my heel in my pant leg (on stairs no less) and ended up icing my ankle in bed all afternoon and evening.  Perfect for hand sewing!
Here is a diagram of what happened followed by comments.  And an accessory update ; } (apologies for format oddity)


I sewed the eye side on the left front, folding back any excess so it wouldn't show. The eyes stick over the edge.  Now I have to move the hook strip away from the edge so the center front remains in the center.  And NOW I have a big flap in the front.  To add insult to this, the hooks do NOT stay shut.  One big sigh and I'm topless.  So I'm down to deciding between sewing individual small hook and eyes, or caving in and making the buttons functional and sewing buttonholes.  I am concerned about gaps and pulling with buttons.

On a more fun note, I went to the Portland Fleece and Fiber festival and had far too much fun.  I acquired a 'humane' sheep skin shoulder wrap.  OK, I'm pretty sure that wasn't the intended goal of this item, but its what I'm going to use it for (Viking!).  The fleece felts ON the sheep, near the skin.  Careful removal results in what looks like a sheep skin but no sheep was harmed.  In fact, we hear the sheep is mightily relieved to be rid of it.  The picture shows the fleece laying on my bed, and 30 seconds later when the cat found it and aggressively attempted to subdue it.

She spun in a crocodile death grip, and growled her most menacing.

Monday, August 22, 2011

Beastly Day, but productive - Lisa

We met again on Sunday for a fittings and a general group sew.  Again, we had a list of things we needed to get done, along with some backup projects in case we were exceedingly efficient.  We weren't.  I feel like I did almost nothing, and yet I think I'm nearly done with the polonaise.  Here's what happened....
(but first, on Saturday night I was inspired to embroider a little squid on ribbon for the center of a bow...and yes, it looks more like an octopus)

I laced up my corset, put on my petticoat with portable bustle, and got ready to fit the polonaise, and mark the hem on the skirt.  I put on my skirt and couldn't hook it.  Hmmmm.  Safety pin to the rescue.  Pinned together the parts of the polonaise, slipped it on and took a picture.  Decided I needed another petticoat.  Hurray for fixing my old petticoat in case I ever wanted to use it again.  Turns out I do.  But wait, I can't hook this one either.  Hmmm.  With one petticoat around my knees, and the other (bustle snapped on) held over my head I re-laced my corset a big smidgen tighter.   And then I shortened my bra straps.  Or rather Rob did.

We fidgeted and fussed with the dart pins.  This pattern (TV 410) effectively has two back seams, two side seams and two darts in addition to the front closure.  Per the directions, the darts are the primary point of adjustment for fit.  This is very important for me because I have a small back, a small rib cage, and a large bust.  The back seams fit perfectly.  I did find it necessary to extend the twill tape that holds the bustle to the back.  It now goes around the front and will be tacked to all seams and boning.  The weight of the bustle pulled the lower back off my actual back. 

We got the darts pinned and went to work on the side seams which shouldn't need adjusted but did.  They fit well in the muslin, but the world isn't perfect.  After the side seams were pinned the darts looked bad.  The lower front was pulling in odd and unflattering ways.  Out came all the pins...tabula rasa.  Robin totally recreated the two darts in front.  The smaller, center dart became longer, and the longer outside dart became shorter and curved out toward the hip.  I know it sounds odd, but it fits like a dream.  In addition, we added a dart at the armscye.  This was only because I have a large bust.  Once that was done, I sewed the darts and the side seams (only to the waist).  Once I pinned on the sleeves, it was clear that they were too wide around the elbow.  I'm going to take them in about an inch.

I looked at a lot of pictures of dresses made from this pattern.  Those pictures and my own experience lead me to think that, while this isn't terribly challenging to sew, it's quite difficult to fit accurately.  Without proper fitting, the polonaise makes one look rather dumpy.  This is to be avoided! 

So with this fitting done, what do I have left to do?  I still have to sew the sleeves including the alteration (which is a pain since they're bag lined).  I have to re-sew the facing.  I did it totally wrong, and also forgot to adjust for the hook closure.  I need to bone the front darts.  And then I need to finish the front closure and add decorative buttons.  And finally, I need to add trim around the hem and at the neck.  Which means I have to make the lace for the neck. 

I never even got around to marking the hem of the skirt.

Monday, August 15, 2011

New Project - Valerie's dress (and progress of my own) - Lisa

Spent hours this weekend building a dress for my daughter in my head.  I knew what she wants it to look like so I just needed to figure out what parts of which patterns I wanted to  use, and what I needed to make up myself.  While my brain was churning along, I sewed the trim onto the sleeves of the polonaise.  I'm glad I did.  I was planning on putting the same box pleated ribbon aroung the bottom of the bustle, but turns out it's quite stiff and may not work out the way I expected.  Now I have something else to think about.  And something to try when I'm further along.  Here's how it looks:

I also tried to make ribbon roses.  When I was just a little nugget, my grandmother (or maybe my mother?showed me how to make roses out of gift wrap ribbon. For the next year, all family gifts were adorned with ribbon roses.  I noodled around with ribbon scraps and made these (good for hats?):


And I also cut out and sewed together most of the dark brown skirt that will go under the polonaise using the same walking skirt pattern I used for the petticoat.  I won't made the bottom 12 inches until I get a level line around the part I've already done.  I'm going to cut the last 'foot' and attach it at the bottom. This is a necessity driven from not having enough fabric initially and having to get more.  I tried it on with the polonaise-so-far and I really like it.  I think I also figured out why I think the polonaise is hanging funny.  The weight of the bustle in the back is causing the bodice to hang oddly.  The bustle is attached to the bodice with twill tape.  If I bring the twill tape around to the front, inside, I think weight of the bustle will be supported more by my body and less by the fabric at the back of the bodice.  That will be easy to do, and I hope it works.

And while I did this, I was thinking about the new dress.  She wants a bustle style dress with apron style draping in the front.  And since she'll be playing flute in it, she won't be corseted and needs to lift her arms to shoulder height easily.  I have a costume pattern from Simplicity that I decided to use for the bodice.  It's a modern cut, and not designed to be worn with a corset.  I'm changing it to a front opening with a zipper, and putting a button closure over it.  Again, this provides secure closure yet will look authentic.  I added sleeves from a jacket pattern so that the upper arm would be full and not limit movement.  Then I'm adding a peplum around the bottom of the bodice so her waistband won't show when she lifts her arms.  I'm going to use the walking skirt pattern again, and will attach the apron draping around the front.  I'm using the bustle from the polonaise and attaching it to the skirt in the back.  Now I just have to figure out how to open and close the skirt with all the shenanigans hanging off it.  I'm pretty sure I know what I'm going to do.  I don't want a lot of weight on the bodice because she'll be playing flute while wearing it.  We went to the fabric store and bought this:

The rust color will be the underskirt and trim on the bodice.  The print is the bodice, bustle and draping.  She may want more trim, but hasn't decided yet.  Mostly because she doesn't have to.  We made up a muslin of the Franken-bodice (patchwork of parts) and made some major modifications.  Like me, she's small across the back and bigger across the front.  And the arm holes are going to be challenging.  Everything pulls a little when you raise your arms, so we just need to minimize the pull and make sure it's comfortable. We also made the bustle and attached it to twill tape.  I will cut the skirt and apron draping this week, and she'll be joining us at our next sewing confab to do some sewing and fitting.  Also, she will probably need to make a petticoat.  I think she wants to do as much of this herself as possible, however this is a big and complex project, without a pattern.  So she's helping and learning as she goes.  (hope to have a better picture of the fabric soon, the light aqua background is really pretty, especially on a blonde).

Monday, August 8, 2011

Learning what I have left to do - Lisa

I pinned all my darts, strapped on the corset and petticoat and tried on my hard work.  I had added to the front to allow room for my chest and I clearly added too much.  The front darts are not quite right, and strangely, the side seams that fit in the muslin are too loose.  The shoulders and arms seem fine (although I haven't pinned on the sleeves yet).  I'm going to pin the side seams where I think they should go, but wait for Robin to finalize.  She can correct my darts, and pin the sleeves.  She will also need to help me even out the bustle tapes and get the poufs right.  Then I sew it all together, add a front hem, trim, boning, and deal with the hook and eye closure along with decorative buttons.  And, yeah, I still need to crochet the neck trim and have to wait for a final measurement.

Things I learned about reading the directions!  When the pattern calls for 45 inch fabric, 44 inch is not the same.  Especially after it's shrunk.  Luckily I had extra and so was not too messed up when I had to re-fold for every cut.  The front has a 1.5 inch hem allowance.  I didn't read that and planned for a lined panel.  It's a little too long.  Luckily that's very easy to fix.  And a very novel concept for me (at 5'10').


So here I am, pinned together and pinching the baggy sides seams in place.  I'm really happy with it.  And with my petticoat.  While I wait for the next fitting day, I can make the brown skirt that goes over the petticoat.  It's the same color as the lining, but nicer fabric.  I think I'm going to make the bustle stick out a little more too.

Monday, August 1, 2011

Saturday's sound and fury - signifying less than we hoped - Lisa

This ruffled petticoat is 100% done.  It came out really well and I love it, which is good because I'm so sick of hemming and gathering ruffles, I may not ever do another one.  I'll post a proper picture soon.  So tired.....

We didn't take as many pictures as we planned because we were busy.  We started at about 9.30 am. First, Robin pinned two hems for me.  Then she went to work on her crinoline while I stitched gathers.  What started off all sunshine and unicorns, quickly turned to the dark side.  Stitching up the bag required her to balance the hoops on her head while sewing (or, ya know, just ask me for help).  Then she pinned the channels, and re-pinned, and re-pinned yet again.  And then she strapped it on and I re-pinned for length.  It swayed like a drunken sailor every time she breathed.  And then....  well, I'll let her tell you (see prior post).  In the mean time, I was gathering and pinning and sewing ruffles.  Petticoat has a 4.24 yard hem.  Do the math (although most of the ruffles are only in the back).  And then, when the crinoline was still not working out, we looked at the clock and it was 4 pm.  We agreed to stop and eat, and despite reservations, drink a glass of wine.  While we did that we looked over some of the trim ideas I had for my polonaise.  I needed to decide what worked best and if I needed to buy anymore ribbon.  After that we got the crinoline to work.  Even hem, smooth curve on the sides, and every bone in the proper channel. 

Back into my corset, and into the muslin for the polonaise.  Happily, only the darts and the arm hole needed work.  I cut one arm hole and Robin drew the other.  I want to compare it before I cut it to make sure it's roughly the same.  The pattern is really flattering and relatively easy except for fitting.  And in my case, the fitting is very much a personal issue.  My torso can be squished and stretched in some truly amazing ways.  Also, it would have been impossible without Robin.  She did all the pinning and drawing around the arm and then sent me off to the mirror for approval.  I'm going to start cutting this week.

Finally, at 7pm we went over some trim options she was looking at.  Her fabric and trim are lovely.  Despite all the talk about lavender and violet, she will bear no resemblance to Violet Beauregard (yes I went straight to Willy Wonka).  At that point, even the offer of delicious food could not keep me from my car and my hour drive home.  And she promises to post pictures tomorrow!!!

Friday, July 29, 2011

Things I did, Want to do, and a BIG day tomorrow - Lisa

I've been making some crocheted lace, just to see if I can, and to use on my polonaise.  I made big ruffled lace for the sleeves, and something a bit 'less' for the hem,  Here's what it looks like, finished, with my fabric.
I still need to finish making more of the smaller stuff.  It gave me the idea of trying to make some that looks like toothed gears. 

I've got most of the material I need to make a Renaissance dress.  I'll post pictures of the fabric soon.  There are a plethora of images on-line that I might post, but the only thing that has captured my interest is how to treat my sleeves.  There are nearly no limits on what I can do, however what I want to do requires lots of layers and fabric which sounds ghastly uncomfortable.  So here I am, balancing comfort and style.  If you knew me, you would know that comfort nearly always wins.  I never wear skirts above mid calf for that reason.  But since I agreed to do this, I don't want to do a half-assed job.  Guess I'll see when it comes time to make them.  I'm looking forward to trying cartridge pleating.  And my steampunk jacket is bubbling up to the top of my mind.  I searched some images yesterday that each have a component that I want to include:


My fabric is a lightweight charcoal wool with a red (faux) silk lining that will show in the turn-backs and possibly at the cuffs.  I've got black and gold braid and little brass buttons with tiny elephants on them.  So lots of those.  I will have tails.  I like how they button up in the first picture, but definitely not that long.  I have a pattern for a jacket with a diagonal close up the front, and a riding jacket pattern, along with a cutting pattern for a violin bodice.  I should be able to scramble something together out of those.  Then I got some crumpled looking silk-like stuff to use for a skirt.  I think I will have it button up the front so I can have some fun with petticoats and/or bloomers underneath.  And I'm on the hunt for old belts to use for holsters and straps.

All this has to wait until AFTER tomorrow when we meet to catch up on fittings, hemming, trim choices and pattern work.  Here's what we have on the docket:

Lisa
Fit the muslin for the polonaise (final).
Hem brown cotton skirt.
Hem new petticoat, check for 'fullness'.
Review trim options for the polonaise and both brown skirts (one skirt is still an idea).
Pick up the 3 or 4 fabrics Rob is holding for me.
Look over fabric for Renaissance dress and review trim options.
Cut corset for Renaissance dress (at least copy the pattern).
Remember to bring all the things to wear under the skirts getting hemmed...don't FORGET!

Robin
Measure length for skirt over crinoline.
Measure for patterns she will cut in the near future (Pagoda top and corset).
Review trim for Victorian dress. There are lots of potential ideas here.
Work on bonnet pattern.
Cut the skirt for the Victorian ball gown.
Measure Renaissance patterns for trim requirements.
Make final decision on Renaissance fabrics.

This is do-able IF we multitask a bit and IF we don't open the wine too early.  (I do have to drive home) So we should have a lot fun pictures for next week.  I'm itching to start cutting and sewing again.  Something other than the interminable petticoat ruffles, and something that isn't beige.
Thursday, July 7, 2011

Fitting the Muslin, Polonaise - Lisa

I finally cut the muslin for the polonaise.  It took longer then I thought because, well, while searching for my measuring tape I decided I need to clean up the knitting pile and that led to organizing my box of notions, and now I've tidied my office and the spare bedroom.  In among the knitting I found an packet of sewing carbons that was so old the price tag was marked $0.39.  I can use those!  (actually they were so old they didn't really work very well).

With the muslin cut and basted I need to get my first fitting.  I don't have a dress form so it's up to Robin to re-pin darts and adjust shoulders and all the other necessary evils.  Has there ever been a dart that fit?  The instructions were great and worked really well.  I followed them religiously.  The result was very close to accurate.  As expected, the muslin is too wide in the shoulders and needs an inch more in the bust.  There is no adjustment for shoulder width in the cutting instructions and I have narrow shoulders and a short torso so this was expected.  The bust initially seemed good but changed after the shoulders were fitted.  I may add a small dart at the armscye to eliminate some bunching.  I'm only basting it now and will figure it out when we fit the sleeve. 
And yes, since we live rather far apart, the easiest place to meet and fit was the ladies room at my office.  This restroom is shared with other tenants on the floor of one of SF's largest office buildings.  So, or course nearly every woman on the floor wandered by as we were fitting the darts. 

I used safety pins for the fitting since I didn't want to lose pins carrying the muslin back and forth from home.  Robin also delivered two big bags of fabric we bought online.  I have at least two bags more at her house.  Most of this is for undergarments but, at under $2 a yard, I bought some cotton 'on spec'. 

I'll be back after my extended-family vacation in SoCal with the final fitting and then I'm getting to work on the real thing.  But now?  I'm goin' to Disneyland!