Thursday, September 12, 2013

Back to work (Eliza-beef-'n) - Lisa

Sigh.  I'm taking a break from fast, fun things and going back to work on my Elizabethan gear.  I've enjoyed making the underthings but so far I have not been inspired by the actual dress.  Maybe because we started these so long ago, and the project keeps being postponed?  Still, this is something we're doing, so I'm back in the saddle.  We recently cut muslins for our bodices and are ready to cut the fabric.  But before I do that, I need to fix what I've already done.  The neck opening for my chemise was too big and I couldn't keep it on.  None of the blackwork showed when I got dressed.  So I'm making it smaller.  What a pain.  Also, I'm aware that the opening should be big but it is too big for my taste.

First the blackwork facing had to come off and be made smaller.  I cut and sewed it back together less about 2 inches of width and 1 1/2 of length.  It was quite a lot, but I wanted to match the pattern on the embroidery as best I could.  I cut close to the turned edge at each corner so it had to be hand sewn to make sure the rough edges stayed turned under. Then I had to add fabric to the neck of the chemise.  Sounds simple, but it wasn't.  It was like adding the neck facing AGAIN.  I didn't want the addition to show meaning there were few places I could machine sew, so I gave up and sewed it by hand.


WRONG


On to the skirt.  I had already sewn the cartridge pleats to the waistband but the front was... off.  So I put EVERYTHING back on and marked the center front and back a few (5) inches where I want the front to be relatively flat.  Then I pulled all that careful stitching and did it over.  By hand.  Grrrr.  But now it's done and I can hem it and put on trim.  (after I shrink the hoops by about an inch each because of course they are not quite right).  When I put skirt on, the weight of the fabric pushed the front of my farthingale out and I ended up on Margo Anderson's Facebook page where I got a lot of helpful suggestions.  I ended up putting the bumroll UNDER the farthingale which redistributed the weight into the proper shape.  The over skirt is now done.

Next up is the fore panel.  Sad to admit that I wish I'd had more hot glue experience before I started it.  Arrgghh.  I had tentatively hemmed it, but that all changed once the overskirt was completely finished.  I finished hot gluing the black 'gems' and decided I needed to tack 'pearls' around them to disguise the hot glue mess.  Anything in ' ' can also be called 'plastic'.  Though once I got the ribbon trim on, I was pretty happy.

Here is a picture of the bottom half of my Elizabethan/Renaissance outfit.  All done.
I may add more to the forepanel, but I'm pretty sure I want a complete bodice first (wink).  I still need to shrink one of the hoops a little.  And the whole thing still seems a bit too big and shiny.  Probably because it IS big and shiny.


Tuesday, September 10, 2013

Dandelion - for real - Lisa

the WRONG fabric
I was a test sewist for Disparate Disciplines and made the Dandelion top as a muslin.
Dandelion Pattern
 Recently, Mari invited me to make it for real and join her blog hop.  If you've read this blog at all, you know that I don't sew 'regular' clothes, however, I have never sewn with knits and wanted to give it a try.  And if you've only read our statement, you may have noticed that I have a tough time following directions... So when I told Mari that I wanted to try this pattern in a knit, she told me not to get anything super stretchy because it could create problems with the darts.  I just ignored that.  Really, I wanted to be cooperate, but I couldn't find any fabric I liked that fit the rules.  Then again, I love a challenge.  Besides, I was in the mood to make something purple.

The first challenge was the zipper.  There were no 18 inch invisible zippers at my local store.  There were no 18 inch big, fun metal zippers.  Not in any color.  So much for the 'big silver zipper' down the back.  I got a regular zipper.  It will show on purpose.  Executive decision.

Having already made this pattern in muslin, I knew it fit me without any stretch.  I also knew that it seemed a tiny bit (like 1/4 inch) long in the back, or that I'm a bit sway-backed.  So I tweaked it ever so slightly.  And my compliments to Mari because I am a fitting nightmare.  To be blunt, I'm pretty chubby, with a large bust and small shoulders and back.  I'm also short waisted so my extra poundage tends to hang out in my stomach.  I often cut patterns 3 or 4 sizes smaller in the back and modify to match to the front.  As a tester, I decided to make the original muslin 'as-is' based on my measurements.  And it fit really well.  That's nearly unprecedented.

When you make this pattern take time to match up the pattern pieces properly, mark all the notches and darts.  This is not an easy pattern due to all the curved seams, but it's worth it.  And it's not difficult, just precise.  The curved seams create the shape.    (I mean it!  I will skip steps and take shortcuts any chance I get.  Layout and cutting this pattern is not the time to do this.)

lots of clipping
As before, the pattern went together without too much difficulty.  Seams must be clipped.  And I needed to do a lot of pinning.  I got to the facing and opted to sew it in phases since it I was doing the sweetheart neckline that has so many curves and I am still getting used to using the overlock.  Yup, I have never sewn with knits, and never used overlock.  I was nearly ready to hem, and I thought I'd just try it on.  HUGE.  Really.  I could pull it off and on without the zipper.  It HAS to be the knit because I compared it to the muslin and the difference is insignificant.  (Did everyone but me see this coming?)  I have so much ignorance around sewing with knits.  (Note to self - in future, consider taking advice and following instructions....)
ignore crooked interfacing - I did!

Based on a quick-and-dirty fitting, I needed to take the bulk of the extra out of the back.  This time I basted the zipper with the estimated reduction  (How hard is it to try and figure how much to take in from the center back while you're wearing it?) and it looked pretty good.

bra light!
This wasn't a huge surprise.  I knew I might be adding size based on how I put in the zipper, and with a narrow back that's the last place I need it.  C'est la vie!...  Overconfidence breeds an hour with the seam ripper being very, very careful.  It also prompted me to use a book light in my bra to improve lighting for handwork while watching my son play SkyRim.

I basted the zipper and decided it look better than machine sewn,  so I topstitched it by hand too.  I overlocked the hems and under-stitched the facing.  All done!

Post Script....
I can still pull this on without using the zipper.    I added about 1 1/2 inches in the hem.  I'm 5'10" and didn't want any accidental stomach exposure.  I also took in the seams under the bust  (after the picture) and fully tacked down the facing since the sweetheart portion kept curling out.  I agree that this isn't suitable for a drapey knit unless you REALLY know what you're doing.  But even with all my ignorance, I have a cute, wearable top*.  Please note the exposed zipper - it looks just fine and the back fits well.  No sagging or bagging.  This is a very fun and versatile pattern.  And I easily made it in less than a day!
(Including do-overs and hand sewing).

Go check out all the other great items made with this pattern during our blog hop!


9/3 Wanett of Sown Brooklyn
9/4 Winnie of Scruffy Badger Time
9/5 Velosewer of How Good is That?
9/6 Lizzie of Sew Busy Lizzie
9/9 Joyatee of Joy and Smiles
.... me!....
9/11 Brooke of Custom Style

* you can tell I'm a costumer by my utter bewilderment at making wearable clothes... But I like it and may actually do it again (I'm planning to make the avocado hoodie as soon as I finish my 1920's and Elizabethan projects).  I am also thinking about making this as a dress, but making it tea length because PRETTY!

Thursday, August 29, 2013

VPLL 1940 day dress - L

The VPLL is back under new management.  And I got the opportunity to test this 1940 day dress.  I love the pattern, and its hint of rockabilly sensibility.  I decided to burn down some stash fabric so all I had to get was a zipper and some buttons.
(in fact, this fabric is left over from my first Victorian outfit - picture at the end of the post). Before I get to my review of the pattern and instructions, here's a picture of the finished dress.


The fabric layout is for widths that are not common at modern fabric stores, however additional width will not allow using a lot less fabric as the layout will require at least 2 times the length of the finished dress.  I was short fabric and added a contract band at the hem to get the length I wanted.  The contrast band is not part of the pattern.

After looking at the picture, I decided that the vertical seams were piped.  It's not needed, but it adds a lot IMHO.
I'd add the piping option to the instructions

The main seams of the pattern matched and went together easily.  Seam clipping was definitely needed.

For the ruffles around the collar and pockets:
Instructions say this is optional and suggests a 1 3/4 strip of fabric of the 'necessary length'.  Assuming 3 times the length will make cute ruffles, then the collar ruffles should be about 18 inches, and the pocket ruffle should be about 12 inches.
I chose to pleat them rather than gather because (Robin has my ruffler foot) I'm lazy and pleating was faster.

I made up the collar, pockets and waist tie in contrasting fabric and I made them up before I started the main part of the dress.

I suggest a minor change to the instructions - to add the collar pieces to the front after step 7.  The instructions current have the collar added after most of the dress is together which makes it more difficult to wrangle that neck opening.

I added the ruffles per the instructions, BUT then I discovered that when I reversed the piece, the ruffles should have been carried into the body of the collar and pockets to fill in the seam allowance.  I had to stretch the ends of the ruffles to tack them in place.  (I hope that makes sense)  I don't have a good picture of this, but imagine sewing around the piece shown and reversing it.  The ruffles are 1/2 inch short of the body of the collar at each end.  I made it work fine, but a beginner would find that bewildering.

The dart placement was good (for a change).  I raised the ties over an inch higher than the recommended placement.  I'm chubby and short waisted so this wasn't a surprise.  I DO think they are sort of low.

There were two small mis-matches in the actual pattern.
First was the pocket placement.


The markings for pocket placement do not match the shape of the finished pocket.  They are exactly a seam allowance short on the top and bottom, although the side to side measured correctly.

I found a similar problem with the collar.

The length of the collar was a LOT longer than the 'V' in the center front.  I made the 'V' in the main body larger and I'm glad I did.  When I finished the dress, a smaller opening wouldn't have gone over my head.
Generally, I found attaching the collar a bit of a pain.  There was a lot of bulk at the base of the 'V' that had to be turned and sewn down with the facing.  That's not a flaw.  It's just how the pattern IS.  The narrow bias facing worked well for me.  It does need to be a narrow facing.  Otherwise the bias will not allow the sharper turns around the neck.


Finally, there is no mention of shoulder pads.

This era was renowned for shoulder pads, and I would suggest adding instructions for them (again, as an option).

Here's how I made them:

Each shoulder pad started as a 6 1/2 inch square of dress fabric, with a 6 inch square of poly batting AND a 4 inch square of poly batting.  I centered them, and folded them in half diagonally and zig-zagged around the outside.  Voila!


And just for fun, here is the original dress made from the teal plaid....

Monday, August 19, 2013

Costume College pix and Gatsby Sewing Sunday - L and R


Lazy, naughty, slacker bloggers.  I finally downloaded some pictures from Costume College.  I didn't take many.  I was too busy listening, learning, and meeting new people.  We also got a couple studio pictures which haven't been posted yet.  I was hoping to get them by now so I could post them here.
Getting ready for the Gala, Robin is all white and I am all black.  But this was just the foundation.  Our final pictures are still not up on the photographer's website.  

Most of the pictures we took were pictures in class to help us remember things.  Here's a couple from one of my favorite classes, 'How to Drape a Bodice' where we watched the teacher drape a civil war bodice in an hour.
I'd only imagined how to drape, so it was very enlightening.
And she gave us slides!


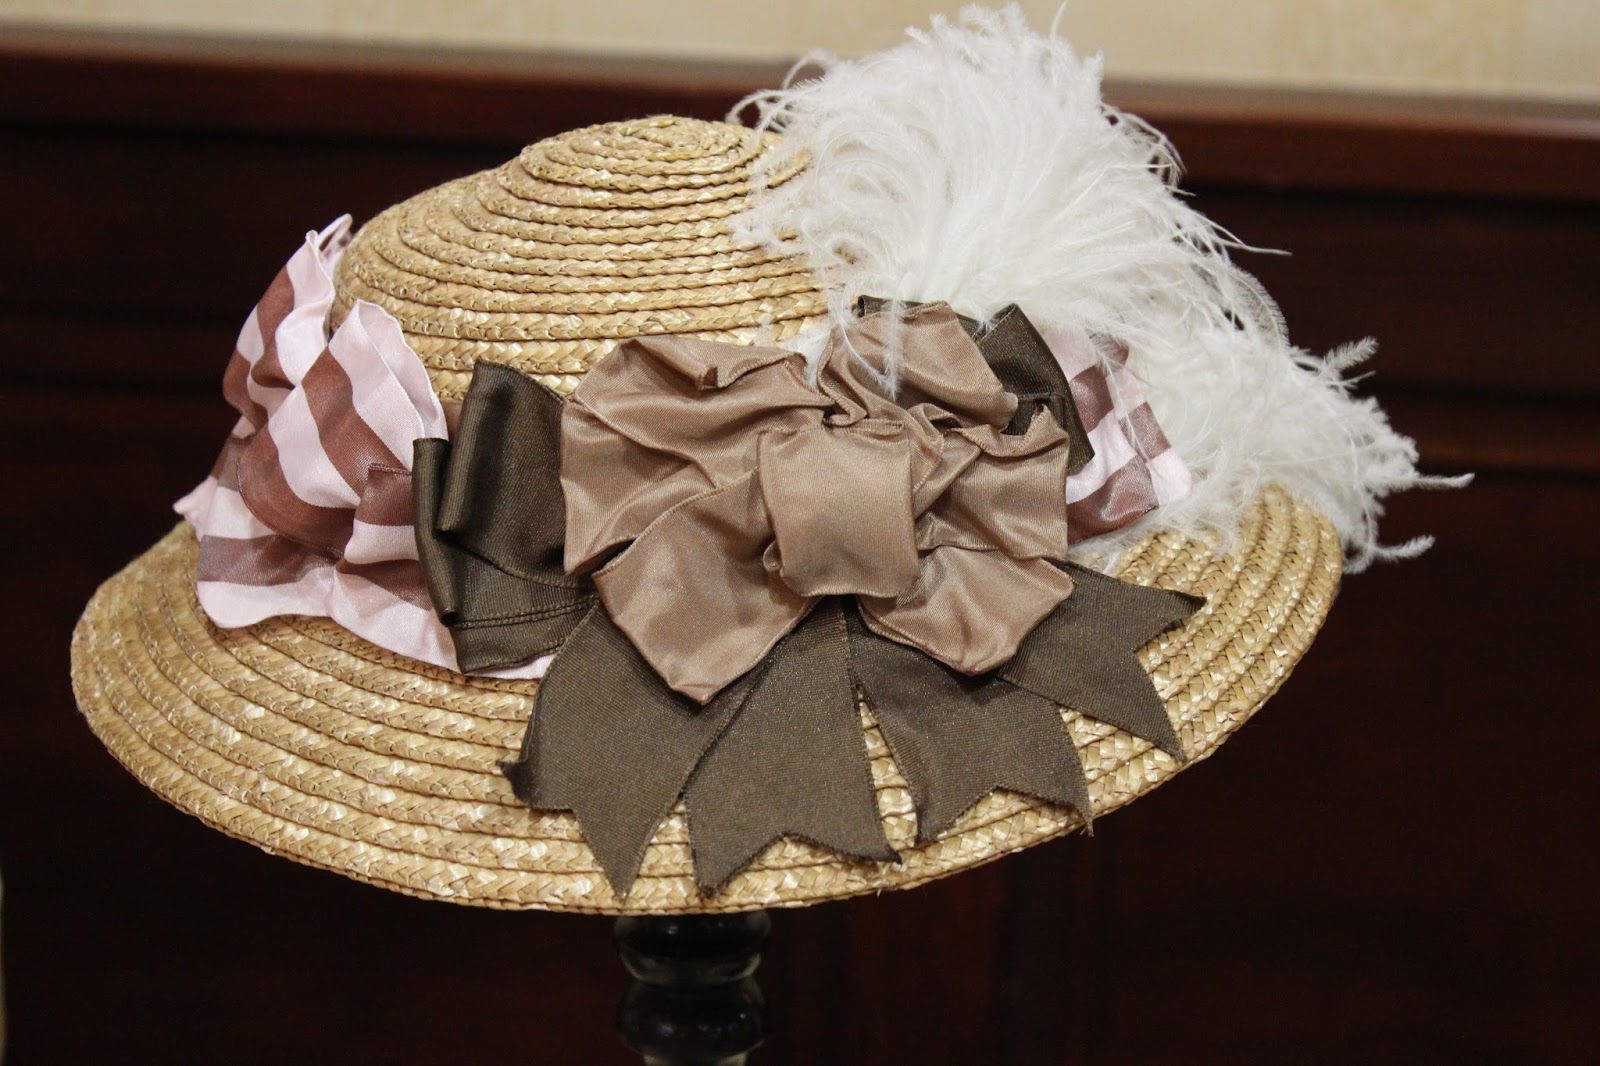
At the end of this post, I will add a bunch of pictures from the costume display.  Including some very cute hats.  But FIRST, we had sewing sunday yesterday.  

Robin has a LOT on her plate.  She needs to make significant progress on her Elizabethan dress, AND she needs to make a dress for the Gatsby picnic.  We focused on getting both bodices fit so she can cut and sew the final dress without worry.  Also, while I had cut out an Elizabethan bodice muslin, it is lost in history.  So I cut a new one and we fit mine too.  We did not take pictures.  

The only pictures we took were of MY nearly finished Gatsby dress.  Just needs hem and sleeve hems.
And my hat.  Which I should be getting very soon.  I borrowed my daughter's hat for pictures.  I also included a silly picture.  Because I like silly pictures.  

And I'm now buried in a mountain of hand work.  Hemming.  The skirt may be drapey, but it's a full circle.  


Also crocheting a vintage 'glamour' collar.  It's easy.  Slow but easy.

And while I'm hand sewing, I'm thinking about too many new projects.  
Victorian Anteater dress
Natural Form Plaid dress
Romantic era 
Robe a l'Anglaise
Regency
Pirate Coat (man's style but for me)
Improving my kraken bustle

Here are some pictures from the exhibit at CoCo and the dread pirate Robin:


Wednesday, August 7, 2013

Back from Costume College, full of ideas -L

Wow.  Robin and I went to Costume College and it was intense.  I took 10 and 1/4 classes in 3 days, wore 3 of my own costumes, made my first visit the the Fashion (fabric) District, met a lot of talented people, and learned more than I could possibly remember.  In addition, I didn't eat properly, didn't sleep well, (sorry for SNORING SO LOUD Robin - I blame the A/C), and was pretty intimidated by the costumes I saw around me.  I didn't take nearly enough pictures.  I was running from class to class, and trying to carve out time to get dressed for events, and eat something better than muffins for every meal.

Fashion District - there is, literally, tons of fabric.  Much of it is cheap, mostly for a reason.  But that's not necessarily bad.  Cheap poly cotton blends can be great for costuming.  So can poly satin.  I got some linen for $5 per yard.  Burn tested.  I got the most amazing cream cotton lawn.  Light, sheer and soft.  For $4 per yard.  Burn tested.  The shop keepers expect you to negotiate.  They know exactly how low they can go so you can get a bargain, but not likely a steal.  Unless you can get something that you can't find elsewhere and at a VERY reasonable price.  There are also some crazy places with stuff piled on the floor and shoved on shelves.  I got 10 yards of poly fringe, very hairlike, for $5.  And 15 yards of 3 inch rayon or poly ivory lace for $10.  I don't plan to dye it so I'm happy.  And on and on.....

Classes were great.  Teachers all knew their stuff, and covered it concisely.  I took a draping class and am ready to give it a try (with actual knowledge!  Thank you Lana Bailey).  I caught the last 20 minutes of a sleeve fitting class and learned how to solve some of my problems fitting where the front of the sleeve meets the bodice (thank you Jennifer Rosbrough at Historical Sewing).  And on and on....

People were all friendly.  And they were all willing to share.  There are a LOT of very talented costumers out there.  Even the folks who were really into historical accuracy were nice.  Robin and I like to take inspiration from historical dress, but we indulge our imaginations too much for historical accuracy.

We are expecting some pictures soon.  Real pictures from professionals.  We'll post them soon.
Message me if you are going to the Fashion District, and I'll tell you where I found the best stuff, but they turn over often so your results may vary.

Wednesday, July 31, 2013

Heading to Costume College! New dress too - L

I had made decent progress on my dress for the Gatsby picnic.  But no matter how I pinned and basted, I hated it.  It was not flattering.  Then, a few days ago, I woke up and thought 'I'm gonna use the Folkwear Tango Dress just like my daughter.  But I will use a simple cotton and style mine differently.  It's a fairly simple pattern but a pain in the neck to cut.  And since I'm tall and I wanted a longer length, it was particularly hard for me.  Basically I had to add 10 inches to the width of my fabric for one piece.  And try and make it invisible.  My fabric is plaid in a loose cotton weave.  So yeah, all that matching......                      It's not hemmed.  The sleeves aren't hemmed.  But I already feel much happier.  Off to pack for our costuming adventure.  We'll be back next week with picture!

Thursday, July 25, 2013

Arrrrr! Here There Be Pirates!

Although my original Pirate Costume (Pirettes of the Cariboobean) due date isn't until October and the "Pirates of Penzance" Tea for Costume College is up in two weeks, I was jamming on the "starter" pirate costumes for both me and my S.O. to wear to a GBACG Pirate Bonfire, held Saturday, July 20,  at Ocean Beach, in San Francisco.  First off, I knew I didn't have time to make coats, so I thought we'd wrap ourselves in various shawls for warmth because it's always cold at Ocean Beach. I didn't even have time to make my sweetie a waistcoat.  Gone were the elaborate plans for a baldric - those plastic guns and swords would just have to get stuck in our waist sashes.

I ended up with a finished man's poet shirt (Simplicity 3758), two puffy pants and a peasant blouse (Simplicity 3677), and purchased sashes, head scarves, striped socks and replica Jack Sparrow flintlock  from Pirate Fashions. I'd actually visited that shop in Florida last year and loved their stuff. The boot covers were purchased last year and are just cheapie costume stuff (the elastic broke while putting them on).  The Tricorn was purchased in Italy on our vacation last year (who'da thunk you could buy an inexpensive quality wool tricorn in Italy???) and the other weapons are from various dollar stores from last Halloween. I didn't have time to modify any of the weapons, but that didn't matter as you couldn't see them because we were wrapped in shawls due to the cold!  It was 98 degrees in our neck of the woods and 48 degrees with an 8 knot wind in Ocean Beach. We had enough time to roast our hot dogs, share the Rice Krispy Treats, drink some hot tea and get the heck outta there!

Of course, Gizmo, the pirate dog, was the hit of the party. He hated his pirate scarf and tricorn and vigorously tried to shake them off whenever possible, thus elicidating some engineering problems I had not foreseen. It ended up around his neck most of the time, especially when he took off after that seagull!

Now I get to try out the vodka-water spritzing I've read about to see if that takes out smoke smell - don't want to launder them as they were only worn for a bit over an hour and the tea dye might lighten!

Hey, is anyone out there afraid of being shot by the police for wearing a replica flintlock and carrying a flimsy plastic knife? Gotta love our Modern Times...


And here's how it really was - could really see the costume because of the cold. But the dog looks good...

Big engineering problem with the dog hat/scarf combo. It just didn't want to stay on top of his head.  HE didn't want it there either!